Getting Started
Integrate the Smartech SDK
a. Adding Dependencies
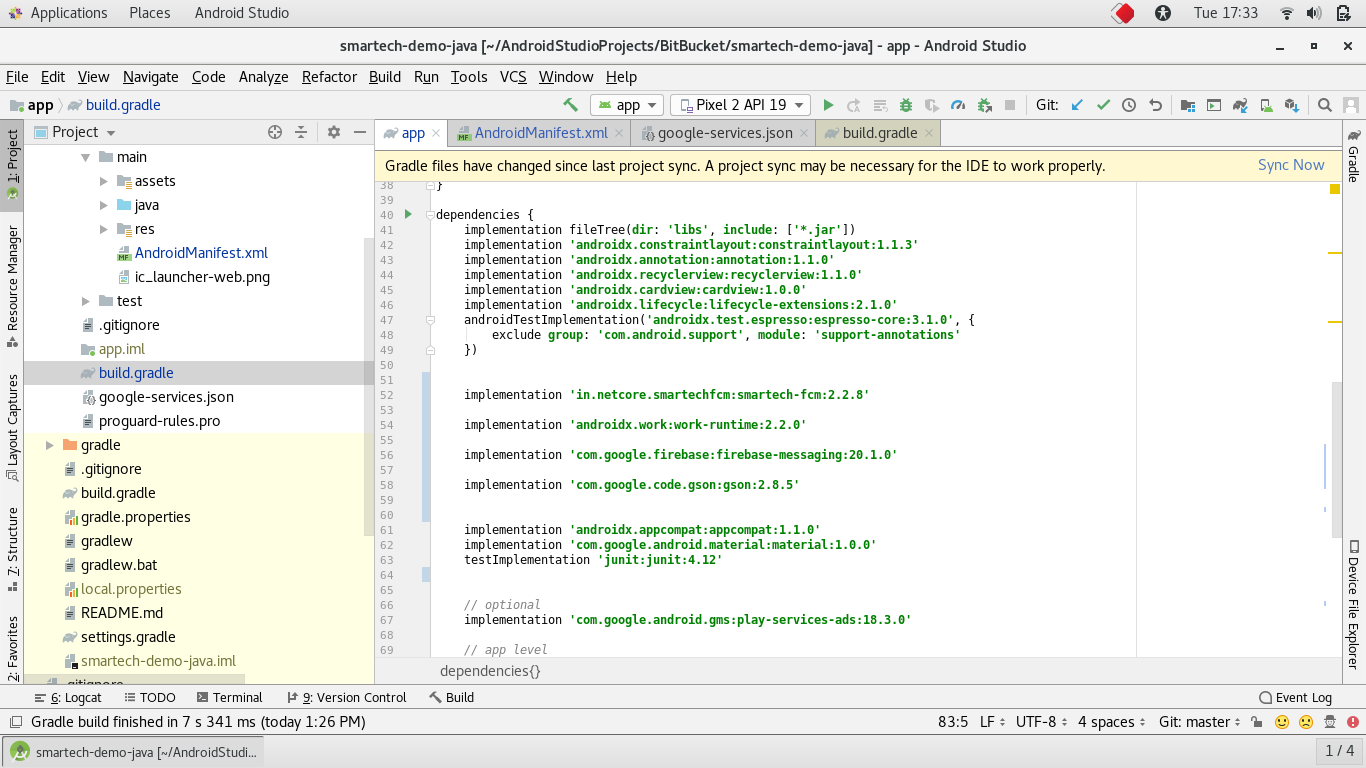
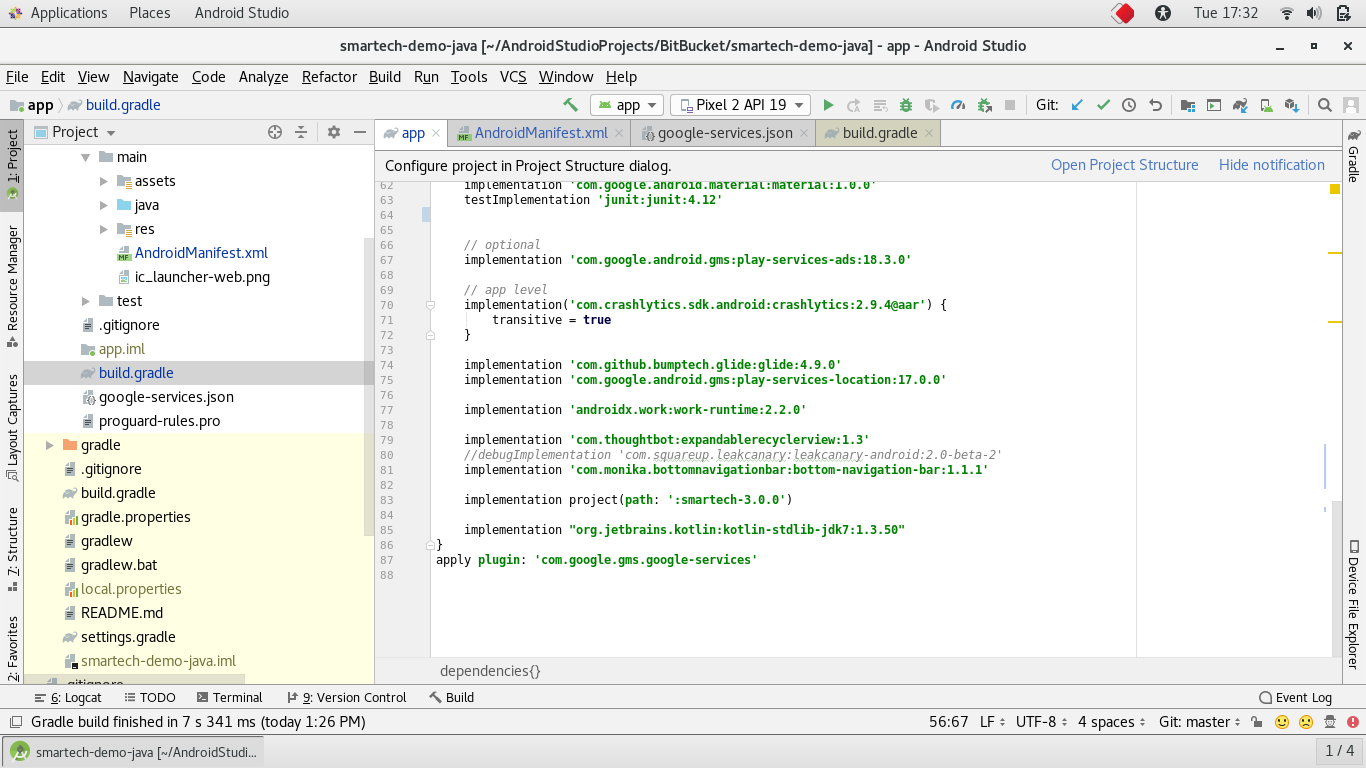
To install the latest Smartech SDK in your project, add the following line to the dependencies section in the app-level build.gradle
For AndroidX
If you are migrated to AndroidX and using AndroidX dependancy of WorkManager, then please add the following Smartech SDK dependency.
implementation 'in.netcore.smartechfcm:smartech-fcm:2.2.22'
implementation 'com.google.code.gson:gson:2.8.5'
implementation 'com.google.firebase:firebase-messaging:17.6.0'
implementation 'androidx.work:work-runtime:2.3.4'
implementation "org.jetbrains.kotlin:kotlin-stdlib-jdk7:$kotlin_version"
For non AndroidX
implementation 'in.netcore.smartechfcm:smartech-fcm:2.0.15'
implementation 'com.google.code.gson:gson:2.8.5'
implementation 'com.google.firebase:firebase-messaging:17.6.0'

// After updating to Smartech SDK version 2.0.+, please add below dependancy.
implementation 'android.arch.work:work-runtime:1.0.1'
NOTE :
cancelAllWork ()Cancels all unfinished work. Use this method with extreme caution! By invoking it, you will potentially affect the Smartech SDK and other modules or libraries in your codebase. It is strongly recommended that you use one of the other cancellation methods at your disposal.AndroidX is a major improvement to the original Android Support Library, which is no longer maintained. AndroidX packages fully replace the Support Library by providing feature parity and new libraries.
Android Support Revision 28.0.0 will be the last feature release under the
android.supportpackaging, and developers are encouraged to migrate to AndroidX as all new feature development will be in the AndroidX namespace. Same would be the case of work manager version 2.0 and above. We recommend that you migrate to the AndroidX library soon and upgrade the AndroidX compatible Smartech SDK.
b. Perform gradle sync
Be sure to perform a Gradle Sync to build your project and incorporate the dependency additions noted above.

Initialize Smartech SDK
In the onCreate() method of your Application Class includes the code below. This code will initialize the Smartech SDK.
import android.app.Application;
import in.netcore.smartechfcm.NetcoreSDK;

public class MyApplication extends Application {
    @Override
    public void onCreate() {
        super.onCreate();
        NetcoreSDK.register(this, "APP ID THAT YOU GET FROM SMARTECH PANEL");
    }
}
Make sure you have registered your Application class in Application tag inside manifest.xml file.

Set Debug Level
The Level class defines a set of standard logging levels that can be used to control logging output. Using the verbose you can see the all netcore logs in logcat. You can call this method above the Necore register method.
NetcoreSDK.setDebugLevel(context, NCLogger.Level.LOG_LEVEL_VERBOSE);
Send token to Smartech SDK
If you are newly integrated with FCM -
The NetcoreSDK.setPushToken() method is required to send a token to SDK for sending the push notifications.
public class MyFirebaseMessagingService extends FirebaseMessagingService {
    @Override
    public void onNewToken(String token) {
        NetcoreSDK.setPushToken(context, token);
    }
}
If you are already integrated with FCM -
If you have already integrated the Firebase Cloud Messaging client app on Android, then you need to pass the generated token to Smartech SDK. You can pass the saved token to SDK by calling NetcoreSDK.setPushToken() method above NetcoreSDK.register() method. If you are using non-AndroidX SDK version 2.0.15 and higher (for AndroidX 2.2.18 and higher), you can use fetchAlreadyGeneratedFcmToken() instead of the below workaround.
Please make sure that you are calling this method only once, i.e. on first app launch.
public class MyApplication extends Application {
    @Override
    public void onCreate() {
        super.onCreate();
      	NetcoreSDK.register(this, "APP ID THAT YOU GET FROM SMARTECH PANEL");
        if(firstrun) {
        	NetcoreSDK.setPushToken(context, token);
        }

      	// Or you can use below method if you are using SDK version 2.0.15 and higher (for Androidx 2.2.18 and higher).
      	NetcoreSDK.fetchAlreadyGeneratedFcmToken(this);
		}
}
If you haven't saved the token inside your app, you can re-generate it by using the following method. For more details, you can refer to the Google’s Documentation
FirebaseInstanceId.getInstance().getInstanceId()
        .addOnCompleteListener(new OnCompleteListener<InstanceIdResult>() {
            @Override
            public void onComplete(@NonNull Task<InstanceIdResult> task) {
                if (!task.isSuccessful()) {
                    Log.w(TAG, "getInstanceId failed", task.getException());
                    return;
                }

                // Get new Instance ID token
                String token = task.getResult().getToken();

                // Log and toast
                String msg = getString(R.string.msg_token_fmt, token);
                Log.d(TAG, msg);
                Toast.makeText(MainActivity.this, msg, Toast.LENGTH_SHORT).show();
            }
        });
Handling Custom In-App HTML
You must implement the InAppCustomtion HTMLListener and call NetcoreSDK.setInAppCustomHTMLListener() method in your application class if you are using custom HTML in-app messages.
public class MyApplication extends Application implements InAppCustomHTMLListener {
    @Override
    public void onCreate() {
        super.onCreate();
        NetcoreSDK.register(this, "<SMARTECH_APP_ID>");
        NetcoreSDK.setInAppCustomHTMLListener(this);
        ....
    }

    @Override
    public void customHTMLCallback(Map<String, Object> jsonToMap) {
        // Handle In-App HTML callback.
    }
}
NOTE:
If you are using Non-Android SDK version 2.0.11 and higher or AndroidX SDK version 2.2.12 and higher you must implement InAppCustomHTMLListener in the application class.
Tracking the Re-Installs
Step1: Creating the full backup content file.
Create an XML file in the xml directory of your resources (i.e. res/xml/my_backup_file). Copy the below snippet in the XML file.
<?xml version="1.0" encoding="utf-8"?>
<full-backup-content>
    <include domain="sharedpref" path="smt_guid_preferences.xml"/>
    <include domain="sharedpref" path="smt_preferences_guid.xml"/>
</full-backup-content>
Step2: Update the application to allow backup.
Add allowBackup and fullBackupContent tags in the application tag of your AndroidManifest.xml.
<application
        android:name=".MyApplication"
        android:allowBackup="true"
        android:fullBackupContent="@xml/my_backup_file"
        ...
        />
NOTE:
- Re-Installs works for users with Android OS version 6.0 and higher.
- The user must be logged in to his Google account and must have enabled backup and restore in order to track re-install. (and have at least 25MB space available in Google drive)
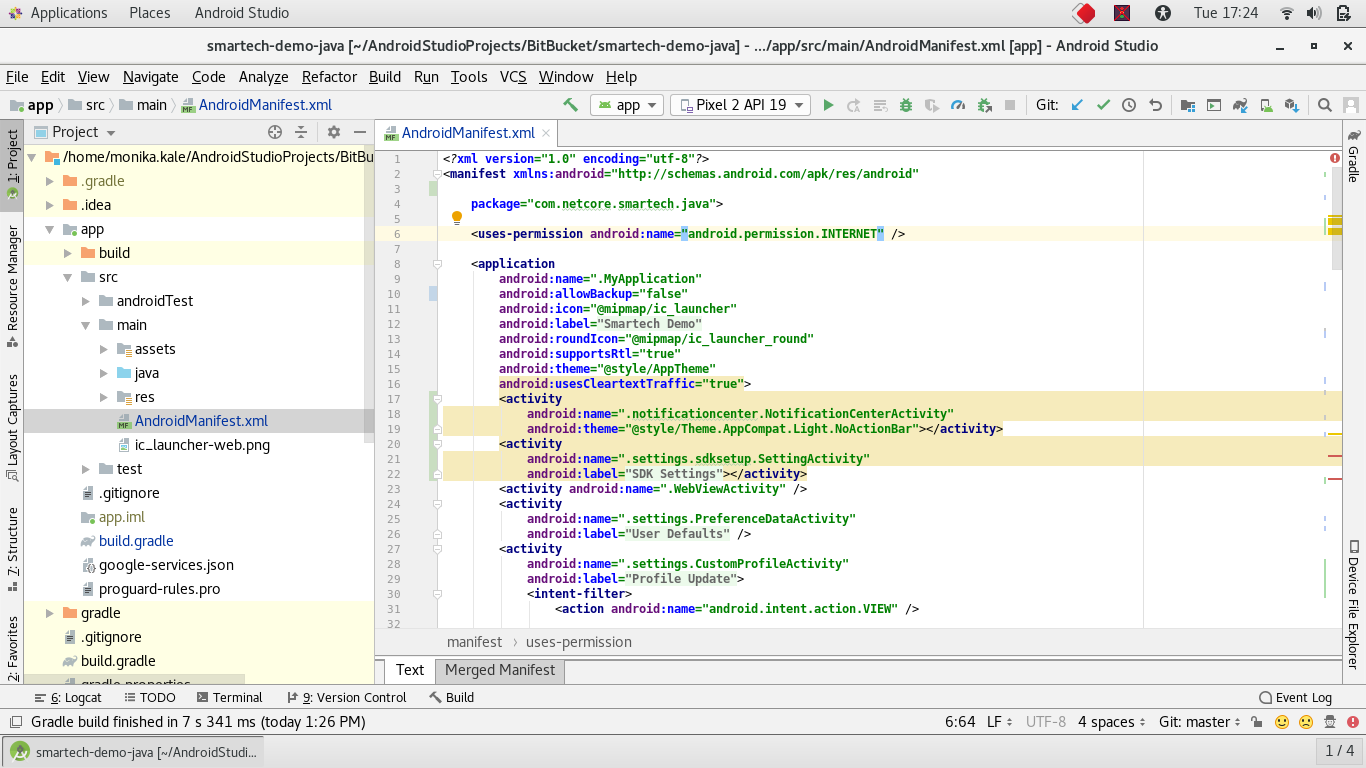
Add Required Permissions to Android Manifest
You need to add the following permissions to your AndroidManifest.xml to callback the APIs.
<uses-permission android:name="android.permission.INTERNET" />

Ready to run
Now you can run the application, and check the Register event getting called.

Did you know?
- Register event will send user’s FCM token to Smartech. Please ensure that token is getting generated in Register event.
- Register event will get called on every app launch.
- This token will be used to send push notifications from Smartech Panel.
Updated over 4 years ago
