
AMP: Unified Content Editor
Create AMP Email templates with our Unified Content editor (Drag & Drop).
Our Unified Content Editor is named Drag & Drop Editor on the Netcore CE dashboard.
Drag & Drop Editor
The Drag & Drop Editor is your all-in-one solution for creating content across various channels, such as AMP and HTML emails. This feature allows you to create and save custom campaigns for later use.
Create AMP Email with Drag & Drop
Follow these steps to create an AMP email using Drag & Drop.
- Choose any existing template or create a new one under the Content section when creating your campaign.
- Select the Drag & Drop option to create the content for your campaign using our drag-and-drop options.
As you proceed, you see three options on the left pane.
- Layout
Layout
It will help you structure arrangements of basic elements, such as text, images, or buttons, in a visually appealing way. Drag and drop any layout on the canvas to create the template.
Drag and drop the Layout element
- Basic Elements
Basic Elements
You can start your template with basic elements like text, image, divider, spacer, and so on.
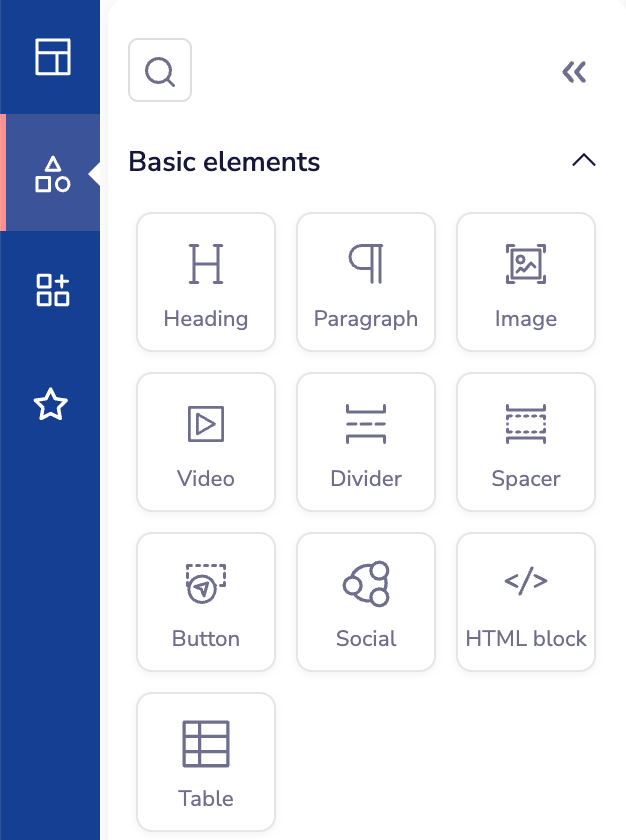
Create your AMP Email using Basic Elements
Refer to the table below to know the description of basic elements.
| Section | Elements | Descriptions |
|---|---|---|
| Basic Elements | Heading | Select this option to add a heading to your template. |
| Paragraph | Select this option to add a message to your template. | |
| Image | Select this option to insert an image into your template. Customize your template's visuals with these image editing tools. | |
| Video | Select this option to insert a video into your template. Videos help make your message more engaging and interactive. Customize your template's visuals with these image editing tools 👍 Note: Playback options depend on the video type. Vimeo videos support all controls, while YouTube and MP4 videos support only the play button. | |
| Divider | Select this option to separate content sections in your template. | |
| Spacer | Select this option to add a spacer to your template. | |
| Button | Select this option to integrate a button into your template.
| |
| Social Links | Select this option to add social media links to your template. You can add up to 16 icons. Click on the box icon to enable or disable the display associated with each social media icon. |
- Widgets
Widgets
AMP widgets in emails allow you to create highly interactive and dynamic content, transforming your email campaigns into engaging experiences. With Netcore's DIY editor, you can easily add widgets to your AMP emails, enabling actions like filling out forms or browsing products directly within the email. This interactivity enhances customer interaction and boosts engagement, making your campaigns more effective and impactful.
Click here for a detailed overview of the various widgets available when creating your email.
- When your template is ready, using your desired elements and settings, click the Next Step button > Save & Preview
- Review the details of your campaign one final time. If everything looks good, click Save & Publish to send the campaign.
Refer to Save & Publish your email campaign.
Updated 29 days ago