AMP in Emails
Use AMP to send interactive, dynamic emails through the Netcore CE dashboard.
Overview
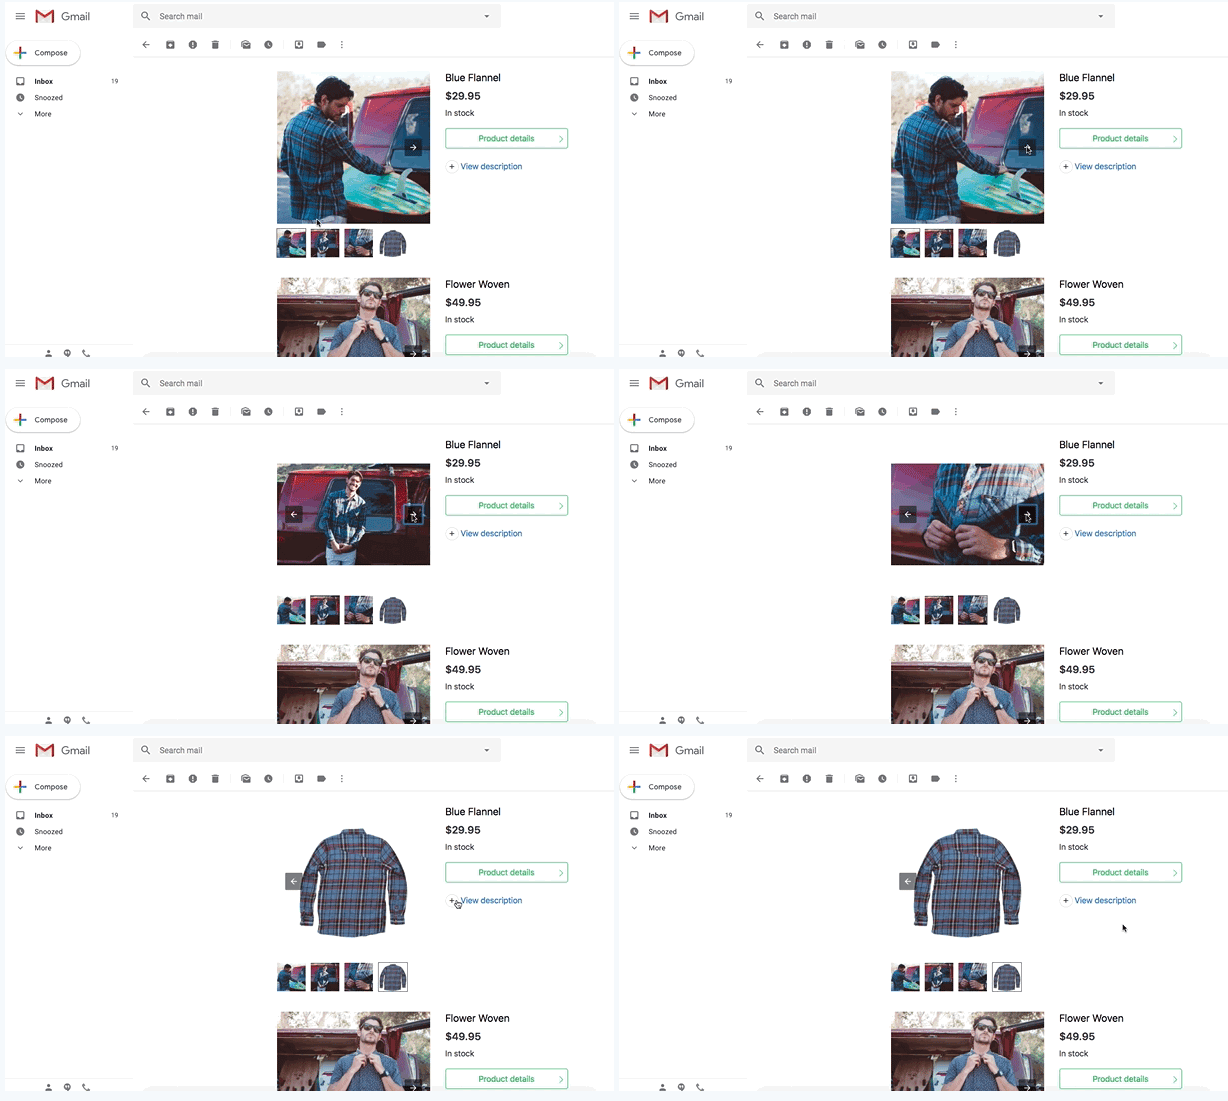
Netcore's AMP email feature enhances email content by making it dynamic and interactive, attracting recipients instantly. AMP for Email offers interactive elements enabling users to take action directly from their inbox. AMP emails feature interactive elements such as image carousels and accordions. Use AMP components to create engaging elements like surveys, feedback forms, voting campaigns, reviews, and subscription centers. These help to enhance engagement and boost retention. Incorporating AMP into email campaigns increases click-through rates, conversions, and overall customer satisfaction.
Points to Remember
- The headers and footers do not work for AMP emails.
- The SPAM score for AMP emails is not calculated.

Example of an AMP Email
Benefits of AMP for Email
Following the key benefits of AMP for Email.
- Conversion Boost: AMP for email boosts conversions by creating engaging, interactive content.
- Drop-off Reduction: It reduces drop-off rates by keeping users engaged within the email interface.
- Expanded Email Usage: It expands the scope of email usage, offering innovative communication possibilities.
- Personalization Upgrade: It introduces a new level of personalization, catering content to individual preferences and actions.
- Competitive Advantage: With relatively low competition, AMP offers a unique opportunity to stand out in email marketing.
Refer to the below links to learn more about AMP in Email.
- AMP using Drag & Drop Editor:
- AMP using Code Editor
- AMP using System Templates
Supported Email Clients
The following email services can display AMP content. Refer to the register links below for more information.
Prerequisites
Ensure the following prerequisites are met before creating your first AMP email campaign.
- In a scenario where interactivity can increase the Conversion metric, prepare the AMP HTML and validate the same. Fallback (static) HTML must also be created for customers who cannot see AMP mail.
- AMP sender domain verification typically requires one to two weeks, depending upon the specific use case.
- Use the production-ready AMP and corresponding Fallback content to get verified for the AMP sender ID. This is a one-time process for each sender ID. Once a sender ID is verified, you can use it for other use cases.
- To send AMP emails to your end users, you must do one-time Sender ID whitelisting. Every sender ID you plan to use to send AMP emails must be whitelisted. If AMP emails are sent to end users without whitelisting, end users will see only Fallback HTML content. AMP will not render. This whitelisting takes 15-20 days, so it is advisable to apply for it as soon as possible.
Create AMP Email
These are the steps to create an AMP Email campaign:
- Click the Create button on the dashboard homepage.
- Select Engage with users > Email under Campaigns > AMP.
- Choose an AMP whitelisted sender ID from the dropdown menu. If you are creating an AMP for the first time, click on the tooltip next to the Sender ID to add a new AMP sender ID. Ensure that the added sender ID is whitelisted, as Netcore Cloud lacks the capability to verify it.
- Add campaign details to your email campaign in the Setup section.
- Define the target audience for your campaign in the Audience section.
- Add the sender details for your campaign and proceed to create your template.
- In the Content section, you can create a new AMP template or use an existing one.
- If no AMP template exists, select the Create a new AMP template or choose from system gallery > Blank Canvas and craft a new template through the following methods:
- Create a template using the Drag and Drop Editor.
- Create a template by inputting the AMP and Fallback code in the Code Editor.
- Customize ready-made templates to suit specific requirements.
- Preview the AMP and Fallback creatives before sending the email.
Updated over 1 year ago
