
Create Web Message
Learn how to create a web message campaign using the Netcore CE dashboard.
Web messages are notifications sent directly to your website visitors to engage and inform them. With the help of the Netcore CE dashboard, you can easily create and enhance your web message campaigns. Discover the prerequisites, step-by-step guide to create web messages, and detailed explanations of each section here.
Prerequisites
- Add your Website in Netcore CE.
- Add Netcore CE Javascript to your Website.
Refer here to integrate Web SDK in your website.
Steps to Create a Web Message
These are the steps to create a Web Message campaign:
- Click the Create button on the dashboard homepage.
- Select Engage with users > Web Message under Onsite.
Create a Web Message
3. Setup: Add the campaign details here.
Setup
Refer to the table below to know about the sections present under Setup.
| Sections | Description |
|---|---|
| Campaign Name | Choose a name (up to 100 characters) to identify your campaign. You can use letters, numbers, hyphens, underscores, and @ symbols. |
| Website Selection | Pick the website(s) where you want your message to appear. All the websites integrated in your panel will be visible in this dropdown. |
| Tags (Optional) | Assign up to 5 tags. |
| Conversion Goal | Set a goal to measure campaign success. |
| Control Group | Define a percentage of users who won't see the web message for comparison. |
Fill in all the required sections and proceed.
Advanced Settings
In the Advanced settings section, you can configure the fields to track campaign performance.
- Enable the UTM tracking to add UTM Parameters to track campaign efficacy under Google Analytics' campaign reports. Refer to the table below for details on UTM Parameters.
| UTM Parameter | Description | Default Campaign Value | Default Journey Value |
|---|---|---|---|
| utm_source | The source identifies the platform or website from which the traffic originates, such as Google, Facebook, or the newsletter. | Netcore | Netcore |
| utm_medium | The medium specifies the marketing medium used to deliver the traffic. | {CHANNEL} | {CHANNEL} |
| utm_campaign | The campaign refers to the specific marketing campaign name or identifier. For example, summer_sale, holiday_promo, or new_product_launch. | {CAMPAIGN_NAME} | {JOURNEY_NAME} |
| utm_term | The term is used to identify specific keywords or phrases associated with paid search campaigns. For example, running shoes or discount coupons. | Campaign | Journey |
| utm_content | The content helps differentiate between various versions of an ad or link that direct to the same destination. | None | None |
Important Points to Remember
- The UTM Parameter values defined in Global Advanced Settings appear automatically when you create a new campaign.
- You can edit any of these default values before saving the campaign/journey. This would ONLY affect the campaign/journey settings not the Global Advanced Settings.
- When the landing page URL already contains UTM parameters, the values you enter on the Setup page replace those values.
- If you leave a UTM field empty on the Setup page, and that parameter exists in the URL, the URL value is kept.
- UTM parameters gets added only to landing page URLs and action button URLs and not to non-URL actions like Dismiss, Copy Code, or Remind Me Later.
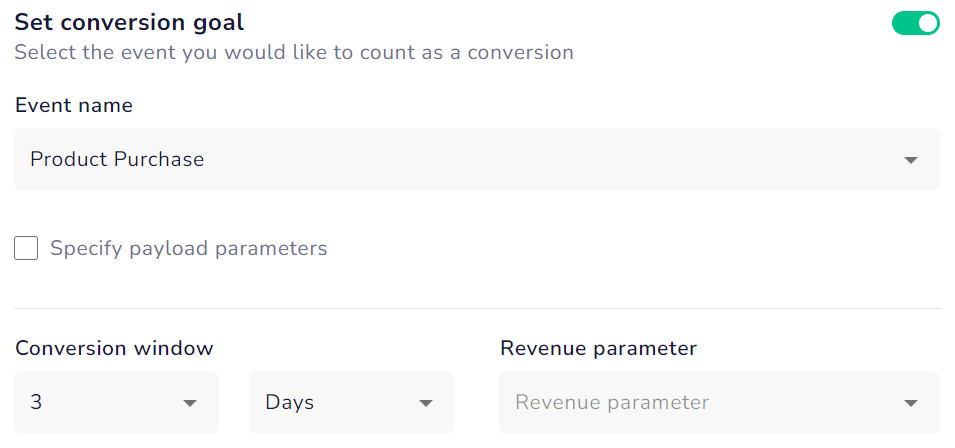
Set Conversion Goal
Refer to the table below to set up the conversion goal on the Setup page.
| Advanced Fields | Description |
|---|---|
| Set Conversion Goal | Add conversion goals to monitor key business metrics and measure the success of your app push campaign. You can track one conversion goal per campaign. Select any activity as a conversion goal activity according to your objectives. For example, if you want to track the number of customers who have purchased shoes after your campaign was sent. (Event: Product Search, Product: Shoes). This is a mandatory field. |
| Payload parameters | You can define criteria for the conversion event payload. Up to five parameters can be added for customisation. For example, specify a purchase event when the product price exceeds 10,000. |
| Conversion Window | Define the conversion window to link user actions to campaigns in a specific timeframe. |
| Revenue Parameter | Select this option to assign a value to each successful action to track financial impact. This is a mandatory field. |
Set Conversion Goal
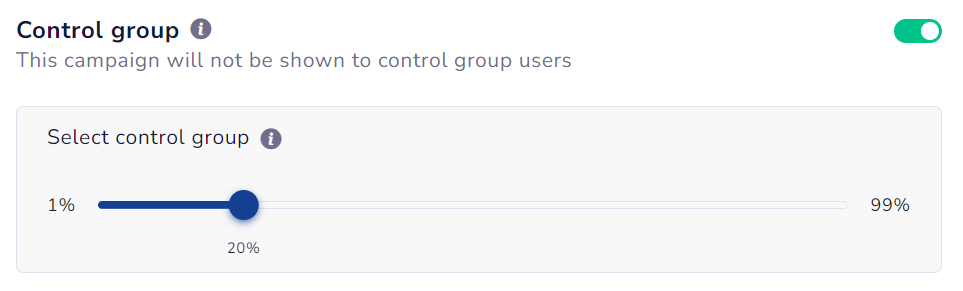
Control group: These are the number of your users that you intentionally exclude when sending campaign content. They serve as a reference point for evaluating the effectiveness of your campaign.
NOTE:Setting up conversion goal is mandatory to use control group feature.
To exclude users in the control groups, do the following:
- Toggle on the control group to exclude the users in the control group from the campaign's target segment.
- Specify the percentage of users to be excluded from the campaign using the scroller/ slider.
Control Group
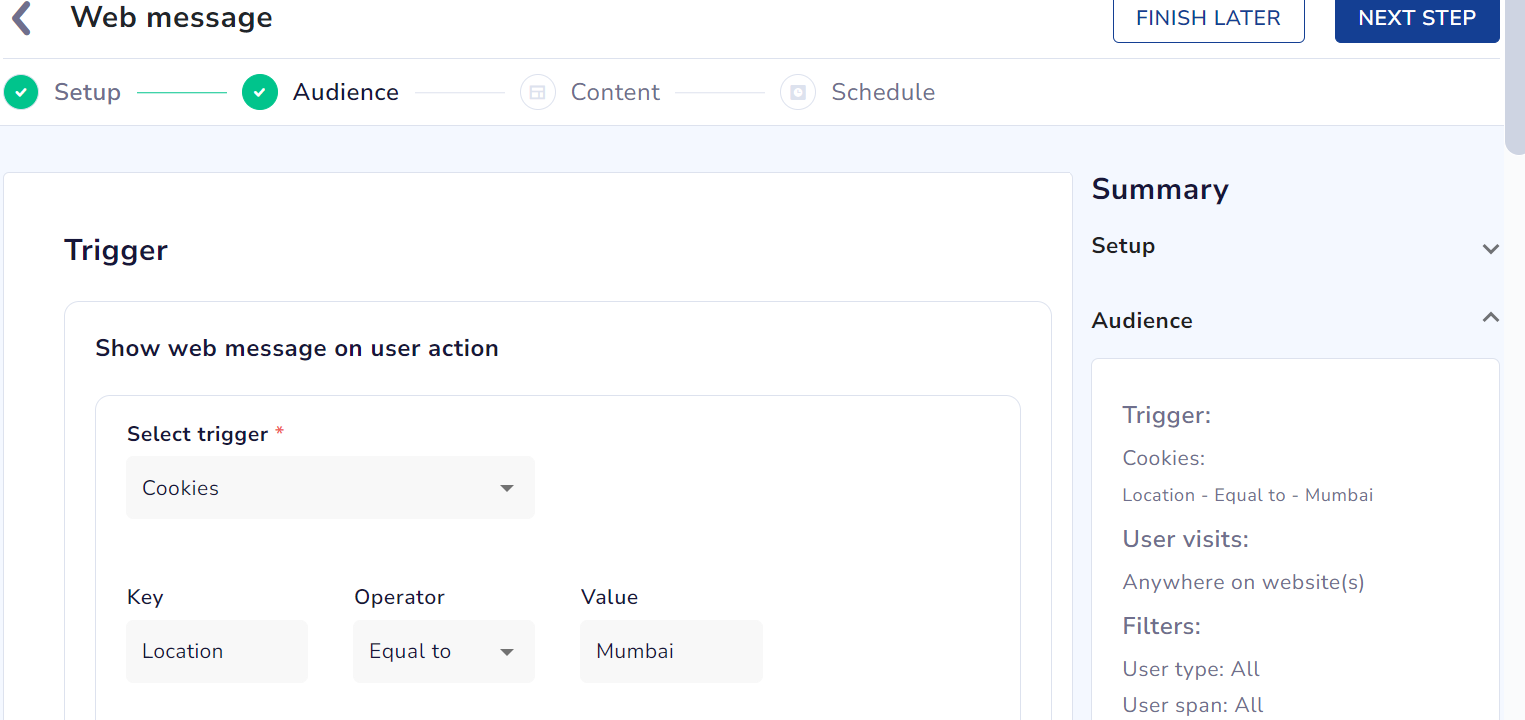
4. Audience: Define the target audience for the campaign.
Audience
The Audience section allows you to select who to target your web messages to. It has the following sections:
Trigger:
A Trigger determines when to display the web message based on specific user actions or conditions. These include visiting the website, time since the last visit, cookies, and so on. Triggers help you target users effectively, ensuring engagement at the optimal moment. You can add up to 5 triggers in a campaign.
Refer to the table below to know about the Triggers available when creating a web message.
| Trigger | Description |
|---|---|
| Visit a Website | This option is selected by default. Any visitor currently on your website will be shown the web message. |
| Last Seen | Show the web message to users who last visited your website a specific amount of time ago (e.g., hours, days, weeks, months, or years). |
| Cookies | Display the web message to users based on their cookies. |
| Exit Intent | Show the web message when a visitor is about to leave the website or mobile website. Exit intent triggers include the following: 📘Note: This does not trigger if the user is navigating within the same website. The user must perform an action (e.g., Tap or Scroll) before clicking the back button. This does not recognize the swipe action in Safari for going back. |
| Referral | Source URL: Enter the source URL to display the web message to visitors coming from that URL. 📘Note: The source URL must be part of the website where the message is shown. You can enter up to five unique URLs, using And/Or conditions for validation. |
| Page Views | Display the web message based on the number of page views by the visitor. |
| Scroll | Show the web message based on the scroll percentage of the website. |
| Time of day | Specify the day and time when the web message should be shown to the visitor. |
| Time Spent on Page | Show the web message to a visitor after they spend a specified time on a page. |
| Time Spent in Session | Display the web message after the visitor spends a specified time in a session. |
| User Idle Time | Target users with the web message if they remain idle (no clicks, scrolls, or movements) for a specified time. |
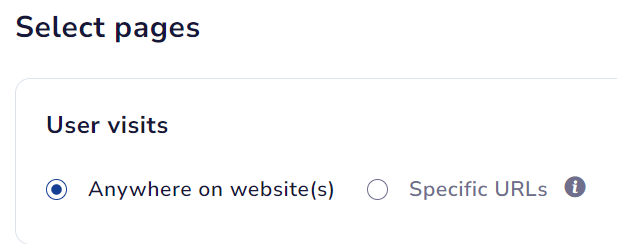
Select Pages
There are two options under Select pages.
Select Pages
| Page | Description |
|---|---|
| Anywhere on Website | Ensures that the Web Message pops up regardless of which page the user visits within your website. |
| Specific URLs | Enables you to target specific parts of your website. You can choose where the Web Message appears by specifying certain URLs. Refer here to learn more on Regex Operator |
Filters
Filters allow you to refine the targeting of your web message campaigns based on specific criteria. You can choose options like user type/span, platform, location, and event to make sure your messages reach the right people at the right time.
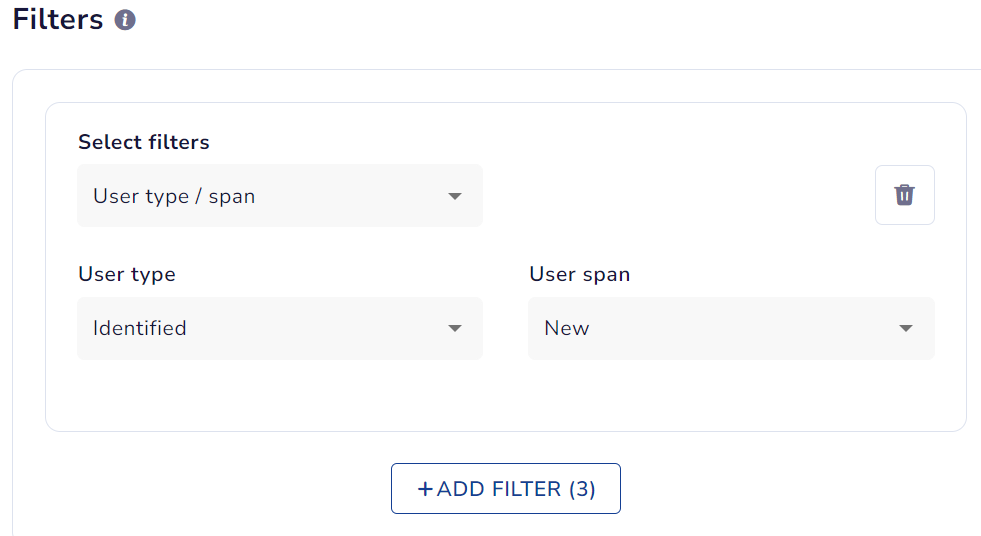
The user type/span, location, event and platform are set to 'All' by default. To modify, please select the desired filter and make the necessary changes.
| Select Filters | Description |
|---|---|
| User Type/ Span | You have two sections under User type/ span filter. Identified: Users whose Personally Identifiable Information (PII) is available. Anonymous: Users whose PII is not available. All: All users who visit your website. New: New users who visit your website. |
| Platform | Specify the device or operating system used by the visitor. You have two options here. |
| Location | Target users based on their geographical location. You have three options here. 📘 Note: You can add up to 5 Location filters, allowing you to include/exclude 50 locations in total. |
| Event | Trigger messages based on specific user actions or events. Refer here for more information about Events. |
Event
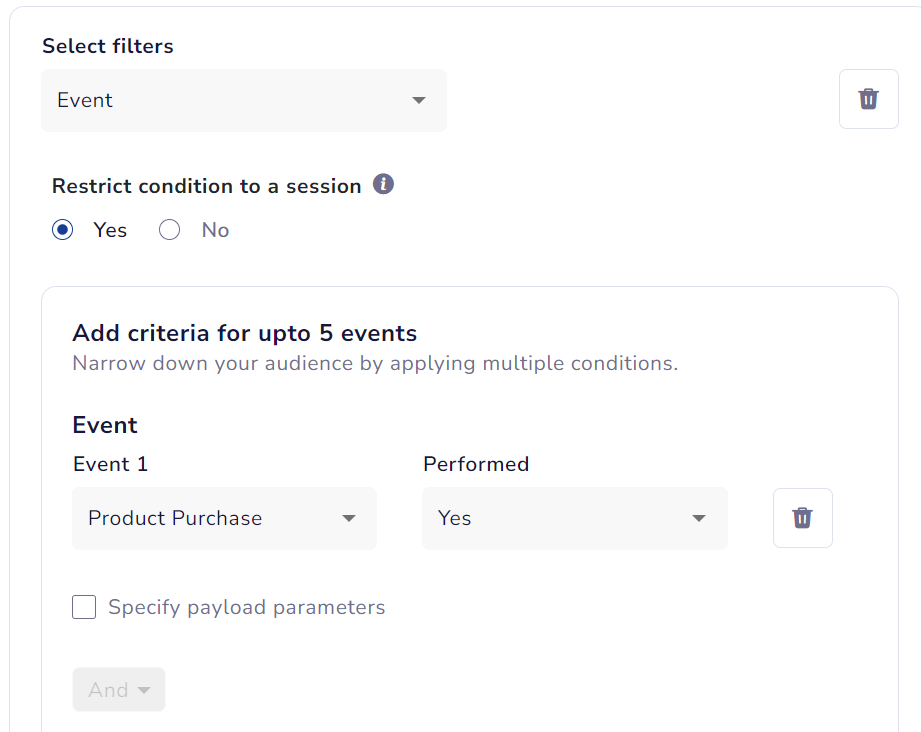
Events are specific user actions that trigger a web message. You can define criteria for up to five events to decide when the message should be displayed.
The events present here are Product Purchase, Lead Submitted, Product View, Product Search, Remove From Cart, Expiry Cart, Checkout, Add To Cart, Page Browse.
Select Filters
After adding Event of your choice, if you select NO under Performed tab, then the wait time option will be displayed.
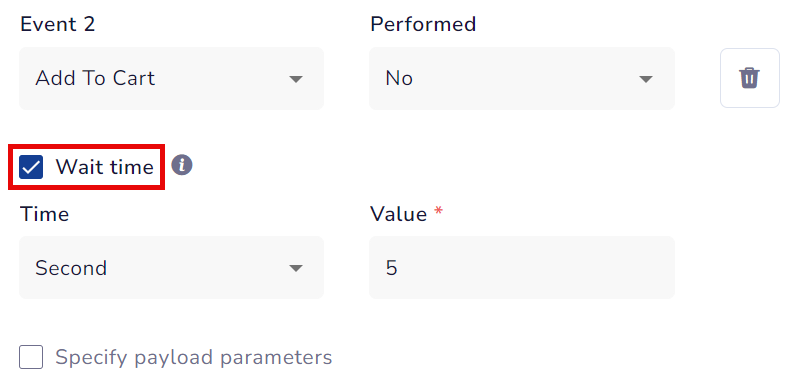
Wait time
Wait time is the duration after which a user will be presented with a web message. You can choose the wait time interval in seconds, minutes, hours, or days, and specify the value according to your preference.
NoteEvents not performed will be checked based on wait time. If wait time is not specified, then the user will be targeted in the next session. Not performed only works with And operator and more conditions cannot be added after using this.
You can select Second, Minute, Hour, or Day and add the value. You can only select one of AND or OR for the events you want to create; you cannot select AND for one and OR for another.
Use Case for Wait TimeIf a user views an iPhone on Amazon, adds it to the cart but doesn’t purchase it, you can select a wait time, e.g., 10 minutes. Then, if the user doesn't buy the iPhone within 10 minutes, they will be shown a web message. If you don’t select a wait time, the user will be shown this popup whenever they visit the website next.
Below the wait time, you'll find the Specify payload parameters option. Clicking on it will show the following options: Payload, Operator, Enter Value.
You can add up to 5 payload parameters under every event.
| Payload parameters | Description |
|---|---|
| All | For an event to count, all payload parameters must be present; if one is missing, the event won't be considered complete. |
| Any | At least one added payload parameter should be present in any event for the user's entry to count. |
| Only Latest | Parameters must be satisfied in the last event the user performs before leaving the website. |
| Payload | Data sent with the message. |
| Operator | Symbol or word for actions like comparing or setting conditions. |
| Enter Value | Field for providing a specific value. |
Refer to the below Use Case to understand the Payload parameters better.
Use Case for 'Add to Cart' eventIf you select All, then all the Add to Cart events should have the set payload parameters. If even one parameter isn’t available, the user wouldn't be considered as having completed the event.
If you select Any, then if the added payload parameters are available in any of the Add to Cart events, the user's entry is counted.
If you select Only Latest, then the added parameters should be satisfied in the last event the user has done before leaving the website.
Restrict condition to a session
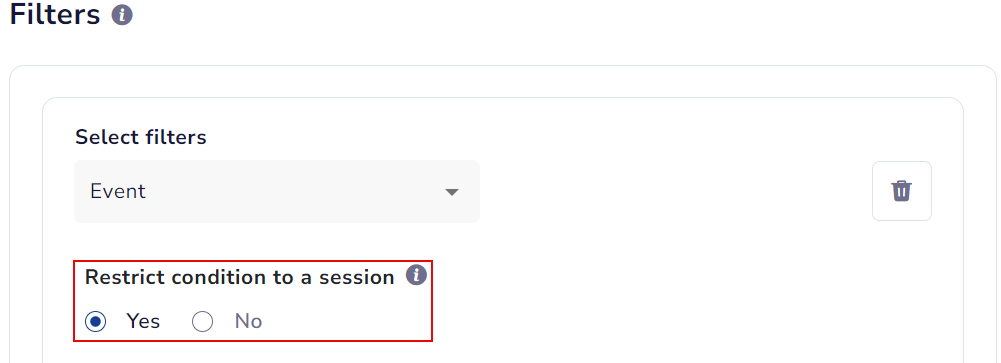
Restrict condition to a session
Select Yes to track events only in the current session (e.g., user action during a single visit). Select No to track events across all sessions (e.g., user actions over multiple visits).
Refer to the below Use Case to understand Restrict condition to a session.
Use Case for 'Add to Cart' eventSelect Yes: This option tracks the add-to-cart event only within the current session. For example, if a user adds an item to their cart during a single visit to your website, this action is recorded. However, if they leave the site and return later, the previous add-to-cart action will not be counted for this criteria.
Select No: This option tracks the add-to-cart event across all sessions. For instance, if a user adds an item to their cart during one visit and then returns the next day to add more items, both actions are recorded.
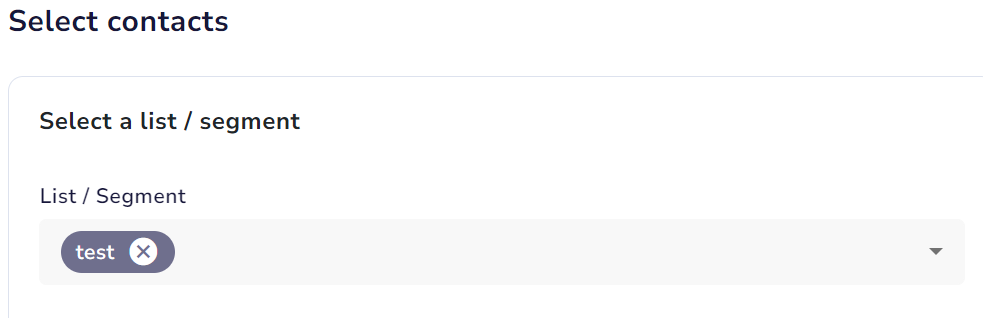
Select Contacts
To launch your campaign, select the audience you want to reach. In the List / Segment section, you can define your target audience.
Note
- Select list/segment from your saved segments because you cannot create a new segment in this section.
- Segments/lists in the audience section refresh every 24 hours.
5. Content: Define the content of the web message to be sent.
Content
After the basic setup and defining the target audience, Content is the section where you can create your template. In this section, you can create your web message using two types of editors: Editor and HTML. Choose from a variety of layouts, elements, and widgets to make your template stand out.
Create the web message, then click the Live Preview button to see how it looks on the website. Toggle between desktop, mobile landscape, and mobile portrait views to see how it appears in different contexts.
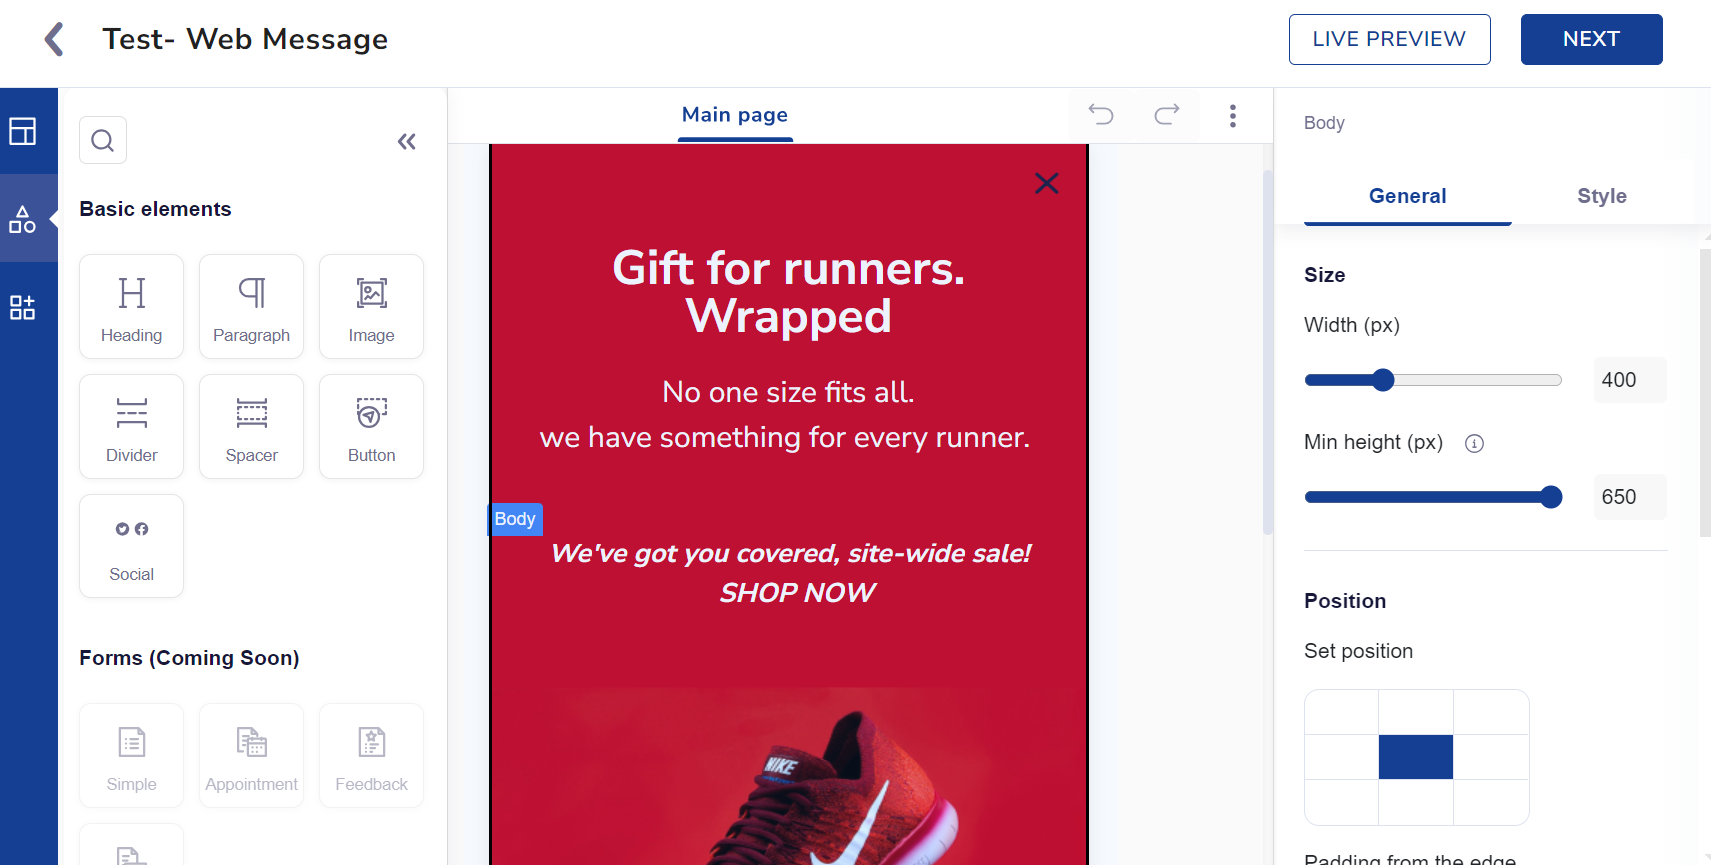
Create Web Message Template
- Click the Next button to send your web message. The following option appears:
- Choose NO, SKIP & SCHEDULE if you don't want to save your template, .
- Choose YES, SAVE TEMPLATE If you want to save your template. Use this saved template in any campaign you like. To access it later, select it from the available templates.
Note:Any edits made to an existing template won't affect campaigns created using previous versions of that template.
6. Schedule: Define the campaign's delivery time and date.
Schedule
Finish creating and previewing your web message, then schedule your campaign.
- Under Start campaign, select Send Now to send immediately or select Send later to send it on your desired date and time.
- Under Campaign frequency, you can control how many times a user views your campaign.
You have three options under Select the frequency.- Time per session: Number of times web message is shown per session.
- Time per day: Number of times web message is shown per session
- Time per campaign: Number of times web message is shown per campaign.
Fill in the required fields as per your preference. You also have the option to select Additional Settings prior to saving your campaign.
| Additional Settings | Description |
|---|---|
| Webhook | Webhook lets you send details like UTM parameters, URL, lead details to your end. |
| Limit views per visitor | Select maximum times a visitor sees this web message until acknowledged. |
| Skip notification on destination page | The web message will not be shown if a visitor directly visits the landing page without clicking on the CTA button then this. |
| Show message after acknowledgement | The Web message will be shown even after the user has acknowledged it. The limit set per user is applicable here. |
| Add delay to the delivery of web message | The web message will be shown after a given delay in seconds. |
| Auto dismiss after the delivery of web message | The web message will dismiss after given delay in seconds. |
- Launch Campaign: Once you have checked how your entire web message looks, publish it by clicking the Save button.
Updated 19 days ago