Setup Dashboard
Learn how to set up your Netcore PX dashboard.
Overview
Netcore PX deals with the end-to-end customer journey within a product. User interactions across product levels, such as user onboarding, product engagement, and customer retention, fall under product experience. Here, you can find information to help you start with the PX dashboard and introduce you to its key terms, features, and functionalities.
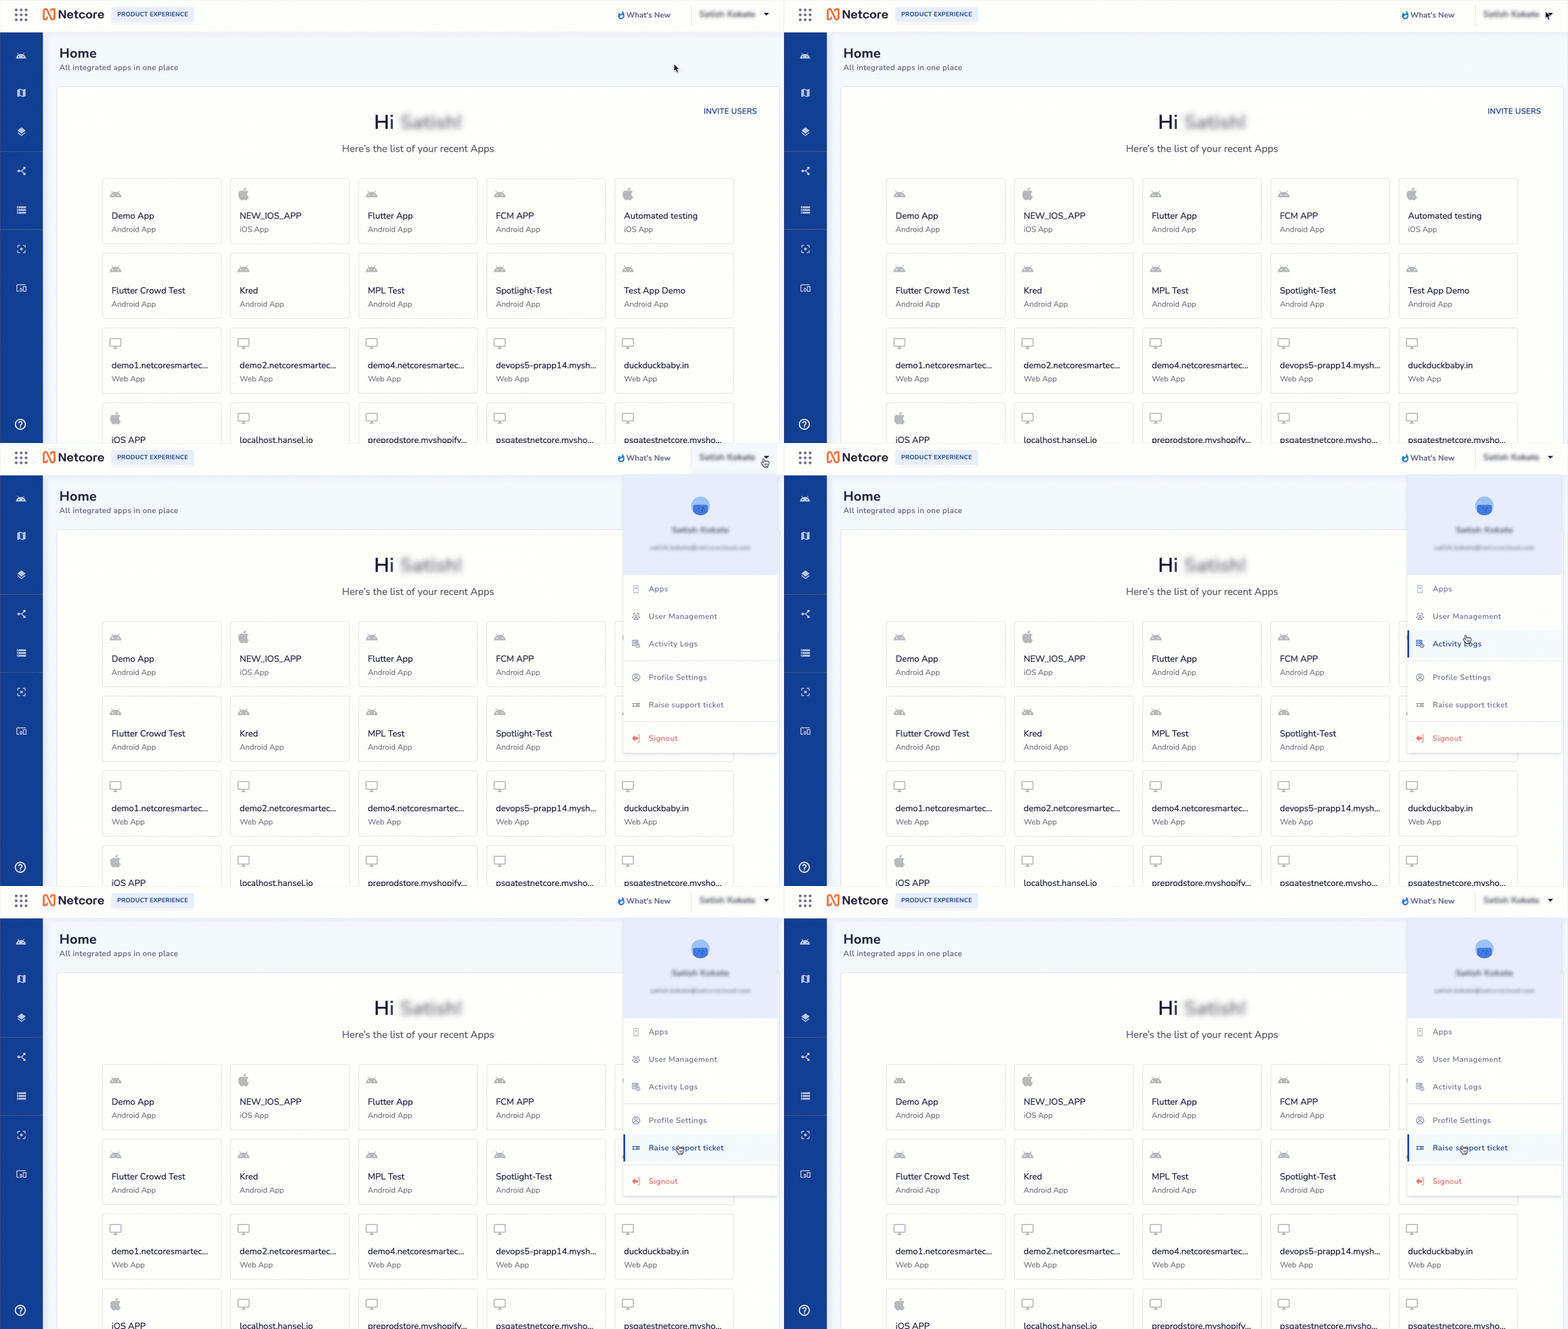
Click on your profile name on the top right to find various options based on your needs. The options available on the Netcore PX dashboard Profile page are:

Navigate Options on the PX Dashboard
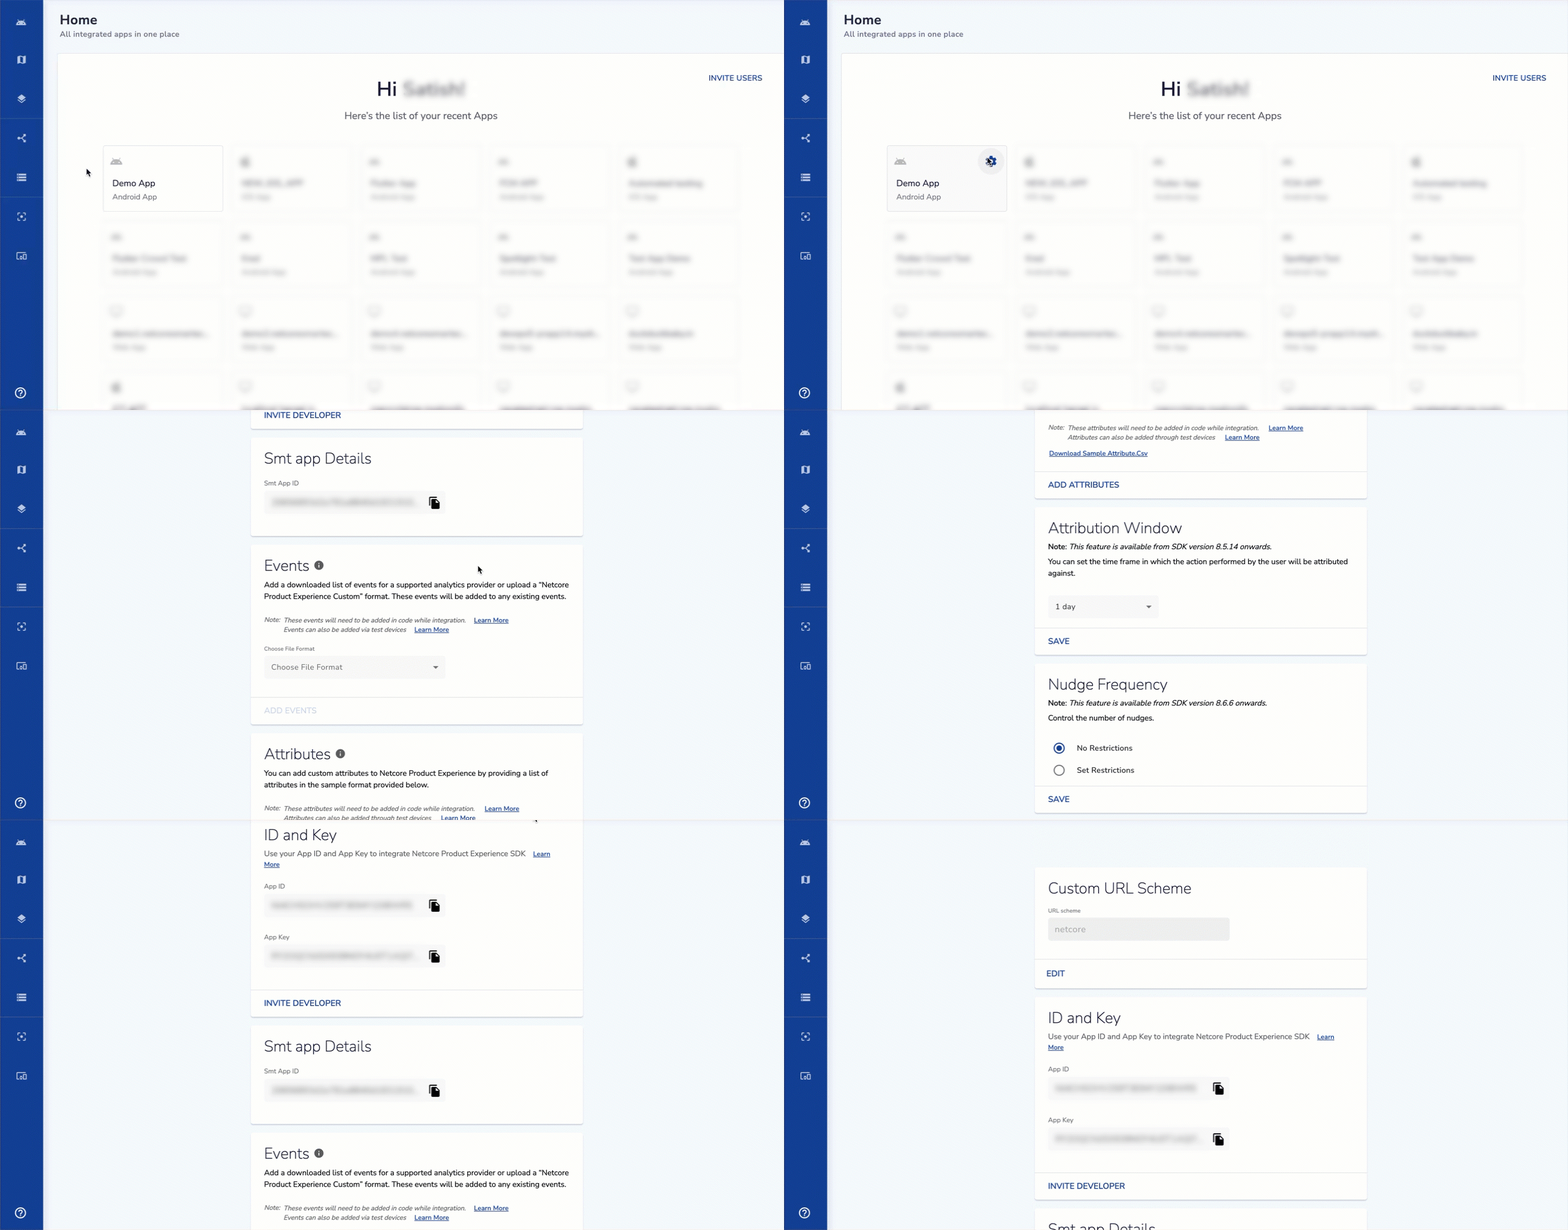
Apps
This is the section where you can view and manage your integrated apps. To add a new app, contact your account manager.
| Field | Description |
|---|---|
| Custom URL Scheme | Configure a custom URL scheme to enable deep linking and app-specific navigation within the integrated app. This is required to add test devices. You can update this value later from the app settings tab. Refer to this document to create deep links to app content. |
| ID and Key | Unique identifiers required for authentication and integration of the app with Netcore PX dashboard. Use these credentials during SDK setup. Refer to this document to set up your Android app's product experience. |
| Smt App Details | A unique app key for integrating with the Netcore PX dashboard. |
| Events | Add a downloaded list of events from a supported analytics provider or upload it as per the sample CSV format. These events can be used to segment users, trigger nudges, and measure metrics. |
| Attributes | Attributes help personalize campaigns and segment users. Upload a list as per the sample CSV format to add custom attributes. |
| Attribution Window | Set the time frame within which a user’s actions are attributed to specific events or campaigns. |

View and Manage Settings for Integrated Apps
When uploading a CSV of events, ensure it follows the specified format. Refer to the given table to learn about the columns to add to your CSV.
| Column Name | Description |
|---|---|
| Event | Write the name of the event that needs to be uploaded. Ensure event names are consistent throughout the rows. There is no limit to the number of events you can add. |
| Vendor | Write the name of the analytics provider used. Use the following naming conventions.
|
| Event Property | Add the properties of the event (if any). Repeat the event name in each row for multiple properties of the same event. If the event name is missing in a row, the system will assume the last specified event continues until a new event name is encountered. |
| Property Type | Add the data type of each property. Here are the supported property types. |
When uploading a CSV of attributes, ensure it follows the specified format. Refer to the given table to learn about the columns to add to your CSV.
| Column Name | Description |
|---|---|
| Attribute | Write the name of the attribute that needs to be uploaded. Ensure attribute names are consistent throughout the rows. There is no limit to the number of attributes you can add. |
| Attribute Type | The data type of each attribute. Supported attribute types: |
User Management
The User Management feature on the Netcore PX dashboard provides a comprehensive view of your entire user list. It allows you to view, invite, and delete users.
Refer to the table given to learn about the available fields.
| Field | Description |
|---|---|
| Name | Name of the user. |
| Email of the user. | |
| Status | Click the arrow to sort the users by the latest to oldest added users. |
| Account Type | Your account type is displayed whether it is an individual account or Single Sign-On (SSO) account. |
To add a new user, click on INVITE USERS on the top-right. The Add new user screen appears.
Enter the email ID of the user you want to add. Select the account type from the following:
- Single Sign-On (SSO): With SSO, you can securely log in to the Netcore PX dashboard using your organization's credentials. If your organization uses SSO to access multiple applications, you can use it to log in to the PX dashboard. This allows you to sign in securely using the credentials you already use for other applications.
- Individual Account: If you are logging in with an individual account, use the personal login details you created specifically for Netcore PX. This option is ideal for access that is not tied to an organization-wide SSO system.
Click ADD to finish the adding user process.
Activity Logs
The Activity Logs section lets you view all internal user activities across the Netcore PX Dashboard. It provides a detailed record of user actions for better tracking and accountability.
Refer to the table to learn the fields available in the Activity Logs section.
| Field | Description |
|---|---|
| Name | Displays the name of the user who performed the action. |
| Displays the email address of the user. | |
| Action | Displays the user's actions on the PX dashboard, such as login, logout, adding a test device, creating a nudge journey, and so on. Refer to the table below to know key actions tracked. |
| Time | Displays the date and time when the action occurred. |
Actions Tracked
The following table summarizes the key actions tracked in user audit logs.
| Action Category | Tracked Actions | Audit Log Description |
|---|---|---|
| Nudge Journey | Deactivated, activated, created, deleted, added, updated, pushed to test | Tracks lifecycle events related to Nudge Journeys, including status changes and testing activities |
| Nudge | Added, deleted, updated | Logs the creation, removal, and modification of Nudges within the system. |
| Product Variable | Added, deleted, updated | Audits changes to product-related variables for traceability. |
| Feature Management Journey | Deactivated, created, deleted, updated, pushed to test | Captures modifications and testing actions in feature management journeys. |
| Journey Goal | Added, removed | Records changes in journey goal configurations. |
| Results Report | Downloaded | Logs each instance a results report is downloaded for auditing purposes. |
| AB Percentage | Changed | Tracks changes in A/B test percentage allocations. |
| Rollout Percentage | Changed | Monitors adjustments in rollout percentages for features or tests. |
| Test Device | Added, deleted | Captures device management events for testing scenarios. |
| Segment | Created, updated, deleted | Audits all segment lifecycle events for segmentation accuracy. |
| User | Added, logged in, logged out | Records user account creation, logins, and logouts for security auditing. |
| Attribution Window | Updated | Logs changes to attribution window settings, ensuring attribution accuracy. |
| Frequency Capping | Updated | Tracks updates to frequency capping rules for message delivery controls. |
Note
These audit logs are available only for the last 30 days.
Profile Settings
The Profile Settings section allows you to:
- View and edit your Name.
- View your Email, Account Type, and Company (these fields cannot be edited).
- Update your password.
Raise Support Ticket
Raising support tickets helps you get timely assistance and provides a clear communication trail for ongoing issues. This process ensures that our support team systematically documents and addresses all your concerns.
This document guides you in creating a support ticket from the Netcore PX Dashboard. Follow these steps to ensure your issues are addressed promptly.
- Log in to your Netcore PX account using your credentials.
- Click your profile name in the top-right corner of the screen.
- From the dropdown menu, select Raise Support Ticket.
- Choose your email provider from the options: iCloud, Microsoft Exchange, Google, Yahoo, or another email service.
- Select your desired option and click Continue. You will be redirected to the email creation page of your selected provider. Write your query in the email body, and include an appropraite subject line for easy identification. Then, send the email.
- Once your ticket is submitted, our support team will contact you.
What's New
Click What's New to explore the latest updates on the Netcore PX dashboard. You can also share feedback, request new features, or report bugs directly through this section.
Updated 5 months ago
