
AMP Widgets
Learn how to use widgets to enrich your AMP email content.
AMP widgets in emails allow you to create highly interactive and dynamic content, transforming your email campaigns into engaging experiences. With Netcore's DIY editor, you can easily add various widgets to your AMP emails, enabling actions like filling out forms or browsing products directly within the email. This interactivity enhances customer interaction and boosts engagement, making your campaigns more effective and impactful.
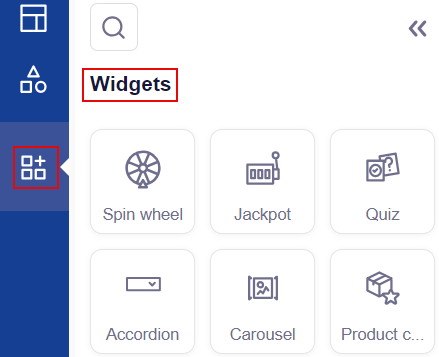
Setup Widgets in AMP Email
Click  to know more for your preferred widget.
- Spin the Wheel
Spin the Wheel
Engage your customers with a fun and interactive game. This widget allows customers to spin a wheel by clicking a button within the email. Customers eagerly anticipate what reward they will earn as the wheel spins and stops on a prize. It's an easy and exciting way to offer rewards, making the experience feel more valuable than just giving them out directly. Use this widget for any audience to boost interaction and excitement.
Spin The Wheel template on Netcore CE dashboard
Create Spin the Wheel Template
Follow the given steps to create a Spin the Wheel Element
- Add the Spin the Wheel element to your canvas, consisting of three key sections: Start, Play, and Stop.
- Add reward names and specify each offering to use under the Prize section,
- Customize the Call-to-Action (CTA) text and URL for Spin the wheel.
By default, each reward has an equal chance of being won due to the random logic applied. Adjust these probabilities if desired. - Complete the setup by setting up your destination with Google Sheets, Zapier, or Webhooks to track results, manage rewards, automate actions, and analyze data efficiently.
Refer to the table below to learn about available functionalities.
| Functionality | Description |
|---|---|
| Add image | Upload or select an image to be displayed on the wheel. |
| Button configuration | Customize the appearance and behavior of buttons on the wheel. |
| Add a start button | Add a button to start spinning the wheel. If disabled, the wheel can't be spun again. |
| Block color | Choose the color for the different blocks on the wheel. |
| Button fill color | Select the fill color for the buttons. |
| Result allocation | Set the percentage chance of winning for each reward. |
GIF and Image Size
- Use of an aspect ratio of 2:1 for optimal display on various devices.
- The uploaded GIF & image size should not exceed 5 MB.
Customize Spin the Wheel Widget
Refer to the table to learn about the customizations available for Spin the Wheel.
| Customization | Description |
|---|---|
| Upload Images | Add images for the Start Image, Spinning GIF, and winning partitions according to your setup. |
| Set Probabilities | Choose how to set probabilities for each result image, either randomly or with fixed values. |
| Preview | Check the Spin the Wheel element to ensure it looks and functions as expected. |
| Customize Spin Again Option | Adjust the Spin Again feature to fit your preferences. |
| Set Up Data Collection | Complete the form setup to send interaction data to your chosen destination using Webhooks, Google Sheets, or Zapier. |
Use Cases
- Promotional Campaigns: Use it during sales events to drive more traffic and sales.
- Customer Retention: Encourage existing customers to return by offering them a chance to win discounts or freebies.
- Newsletter Engagement: Increase your email newsletters' open rate and engagement by including a fun activity.
- AMP Quiz
AMP Quiz
Challenge your audience with quizzes or trivia questions relevant to your business or brand. This widget tests their knowledge and helps them learn more about your brand. Customers can earn rewards by participating in the quiz. Create fun and engaging quizzes to keep your audience entertained and informed.
Key Features
Here are the key features of this Widget.
- Question Creation: Easily create engaging multiple-choice quiz questions directly within the AMP DIY Editor.
- Customized Layouts: Customize fonts, colors, backgrounds, and other visual elements to design appealing, brand-consistent quizzes.
- Response Texts for Right/Wrong Answers: Define custom response texts for correct and wrong answers to provide instant feedback and encourage continued engagement.
- Results Page: At the end of the quiz, direct participants to a results page. This page displays their scores and personalized messages based on their performance. It also includes calls to action for further engagement.
- Display of Correct, Skipped, and Wrong Answers: Choose to show correct, skipped, and wrong answers to enhance transparency and help participants learn from their mistakes.
AMP Quiz template on Netcore CE dashboard
Create an AMP Quiz Using the AMP Drag & drop Editor
Follow the steps to create an AMP quiz using the AMP Drag & drop Editor.
- Navigate to the Drag & Drop Editor.
- Select Widgets > Quiz.
- Adjust fonts, colors, backgrounds, and other visual elements to match your desired style.
- Hover over your template and click
 to add your quiz questions and their answers.
 - Define texts for correct and wrong answers to provide immediate feedback to users.
- Set up the results page to display scores, personalized messages, and calls to action and save the Template.
Collecting and Integrating Quiz DataUsers can collect and integrate quiz data through these options:
Google Sheets: Automatically store quiz data in Google Sheets for easy access, analysis, and collaboration with team members.
Zapier Integration: Use Zapier to use quiz results and trigger automated actions.
Refer to the table below to learn about available functionalities.
| Functionality | Description |
|---|---|
| Select question layout | Choose to display questions with an image or without an image. |
| Option layout | Decide whether the options will be shown in a grid or list format. |
Use Cases
- Product Launches: Test your customers' knowledge about new products to generate excitement.
- Brand Education: Use quizzes to educate customers about your brand history or values.
- Engagement Campaigns: Keep your audience engaged with periodic trivia challenges.
- Accordion
Accordion
An accordion widget helps organize your email content in a compact and expandable format. Users can click on headers to expand and reveal more information underneath, making it easier to navigate through detailed content without overwhelming them. This is especially useful for including FAQs, detailed product information, or other expandable sections within your email.
Accordion Element in your AMP Email
Note
- Each Accordion block can have a set of max eight accordions.
- You can add details/customize font, and colour & have character-level customizations using the AMP editor
- Maximum five accordion blocks can be added in one template.
Use Cases
- Product Descriptions: Provide detailed descriptions of multiple products without cluttering the email.
- FAQs: Include a list of frequently asked questions where each can be expanded individually.
- Newsletters: Organize different sections or topics within a single email.
- Carousel
Carousel
Display multiple images or pieces of content in a single, swipeable area using the carousel widget. This allows users to scroll through various images or messages within the email, enhancing visual appeal and enabling you to showcase multiple products, features, or promotions in a limited space. It's an excellent way to keep your email engaging and interactive.
Resize Carousel
- You can resize both portrait and landscape carousels to match your desired dimensions.
- The editor provides recommended height or width for a perfect fit.
Create a Carousel in an AMP Email
Points to Remember
- Customers can add between 2 to 10 images per carousel, with a maximum of five carousels allowed in a single creative.
- The recommended aspect ratio for carousel images is 2:1.
- When you first add Carousel element to a template, a corresponding fallback will be created. After you modify the fallback, AMP and fallback will function independently. For example, if you add a carousel with three images in AMP, you can add a .gif with images in the fallback instead.
- If the fallback for carousels is left blank, the preview and HTML email will not display empty spaces.
Use Cases
- Product Showcases: Display a series of products or new arrivals.
- Event Promotions: Highlight different aspects of an event or multiple events.
- Portfolio Display: Show a range of work samples or case studies.
- Product Collection
Product Collection
Product Collection is a powerful feature that empowers you to create highly interactive AMP emails. This feature enhances customer engagement and drives conversions by allowing you to send abandoned carts and abandoned search AMP emails. End users can interact with products in their cart directly within the email and proceed to checkout seamlessly, improving the overall shopping experience and reducing cart abandonment rates.
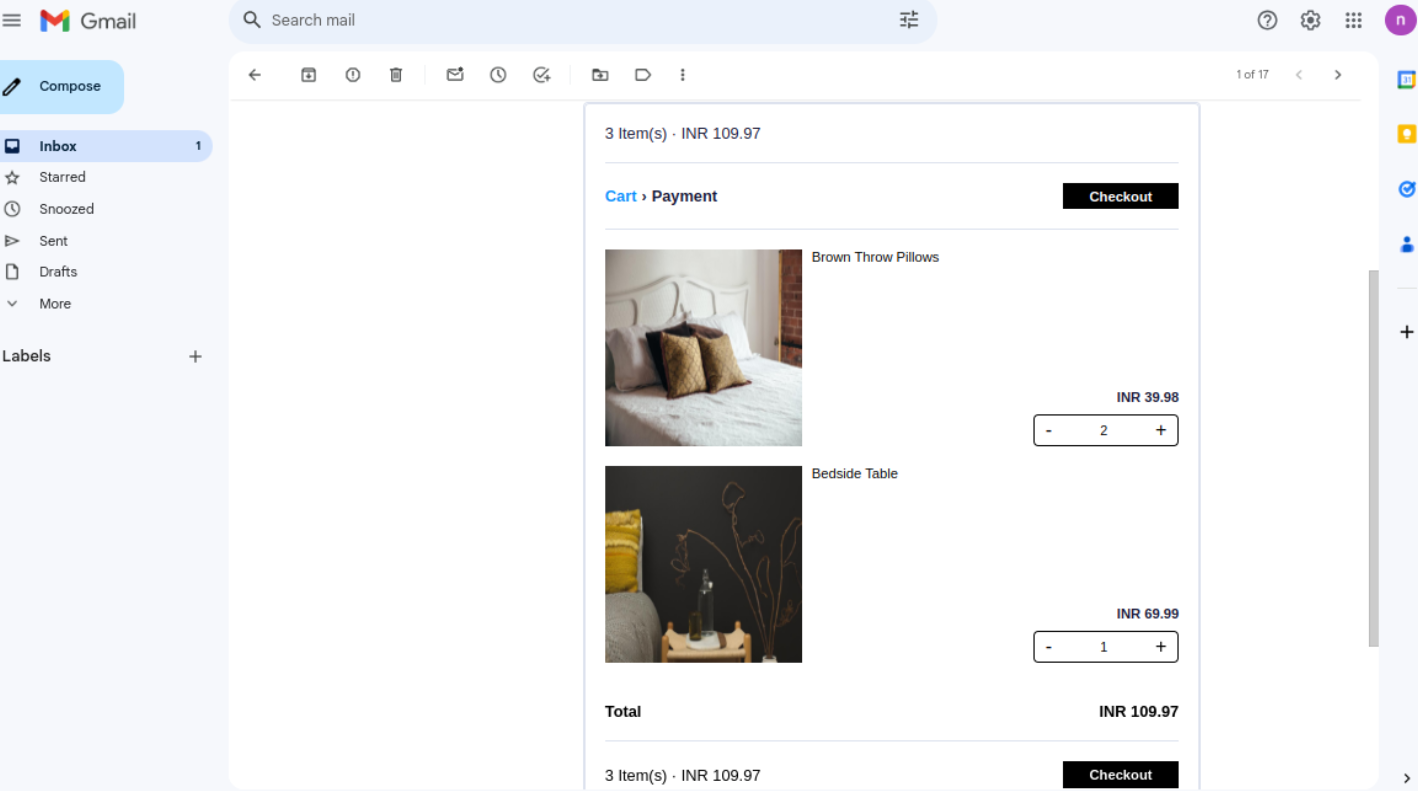
Example of a Product Collection Block in AMP Email
Use Cases
- Abandoned Cart Recovery: Re-engage customers by showcasing abandoned items and encouraging purchase completion.
- Abandoned Search Follow-Up: Remind customers of recent searches by displaying relevant products.
- Personalized Recommendations: Tailor product suggestions based on user behavior and preferences.
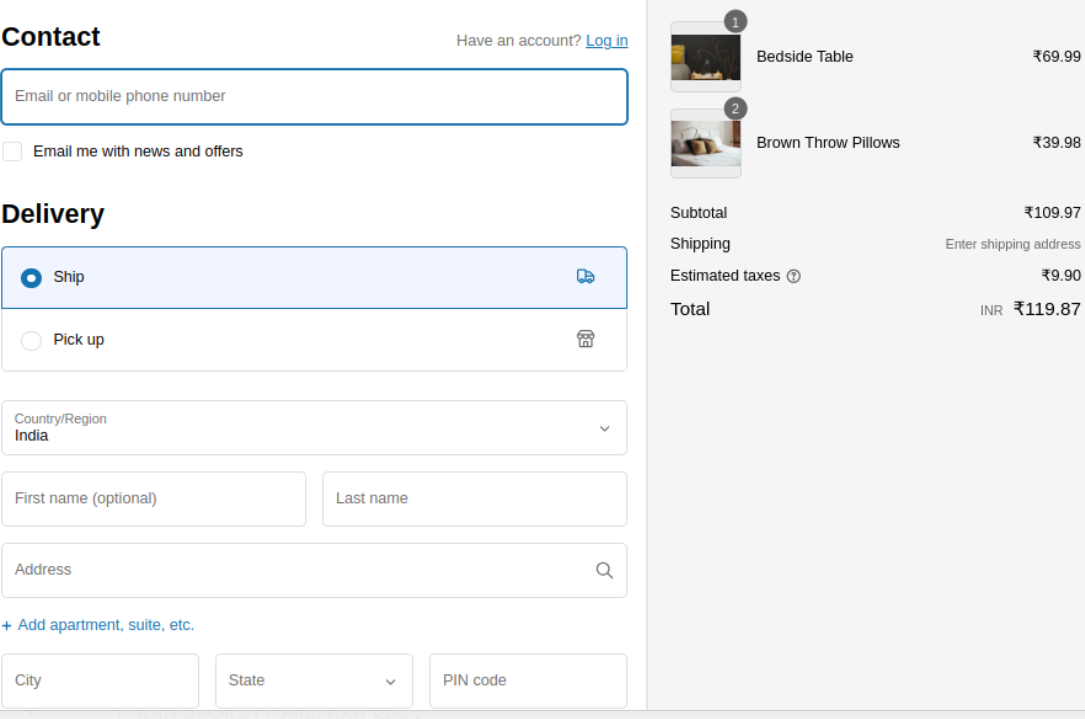
Checkout in Product Collection Block
Steps to Create AMP Email with a Product Collection Block
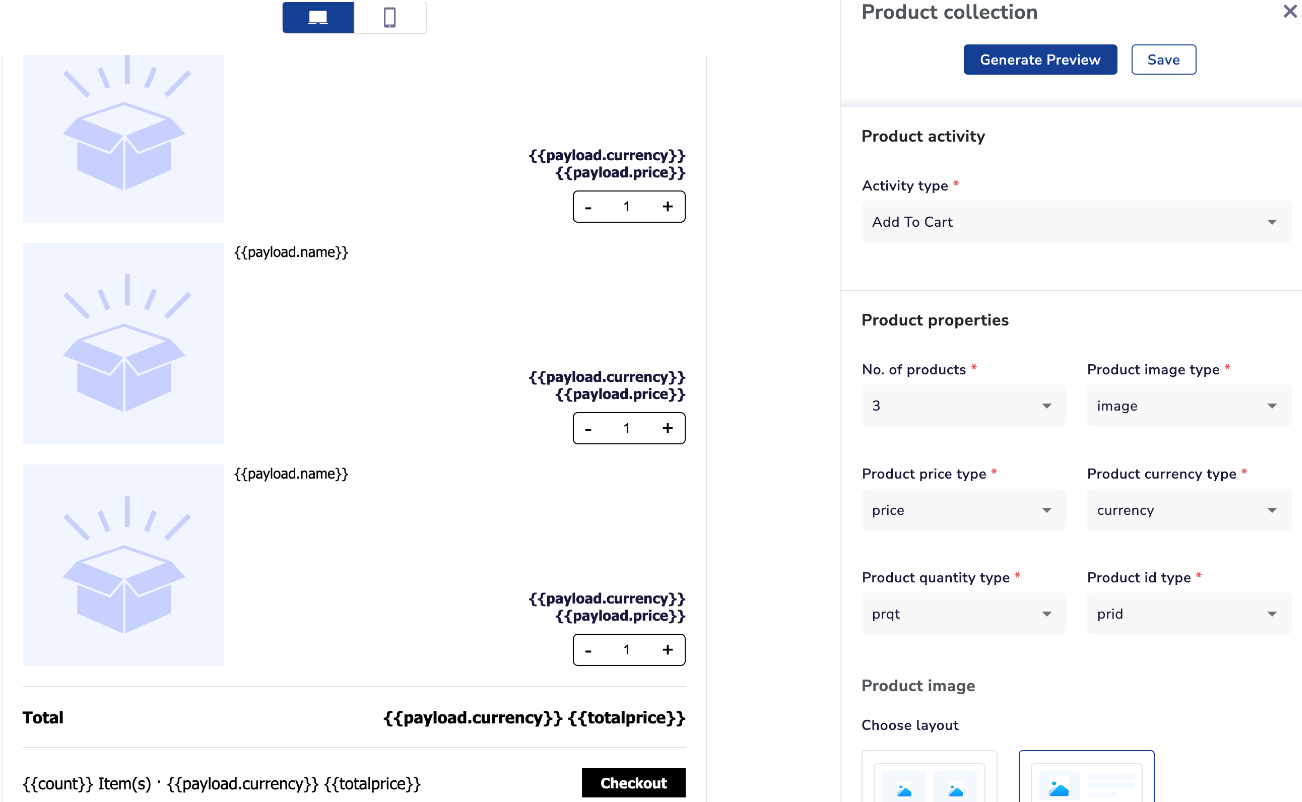
Add a Product Collection Block in your AMP Email
- Navigate to the Drag & Drop Editor and add the Product Collection block to your template.
- Select the abandoned event (cart or search) and essential payloads.
- Define product parameters, cart view, button properties, and more.
Refer to the table to learn about the functionalities of the Product Collection Block.
| Functionality | Description |
|---|---|
| Product properties | Customize various aspects of the products displayed in the collection block. |
| Number of products | Specify the number of products to display in the collection block. |
| Product image type | Choose the type of product image to display. |
| Product currency type | Select the format for displaying the product price. |
| Product quantity type | Specify how product quantity is displayed. |
| Product ID type | Select the type of product ID to use. |
| Product parameters | Set attributes and styles for product information to personalize the display. |
| Select Attribute/Payload for Personalization | Choose specific attributes or payloads to personalize the product display. |
| Text size | Set the size of the text. |
| Text format | Choose text formatting options like bold, italics, and so on. |
| Text color | Select the color of the text. |
| Button properties | Configure the buttons associated with each product. |
| Text | Enter the text to display on the button. |
| Fallback URL | Provide a URL to which users will be directed if the button fails to work. |
| Integrations | Connect the widget with external websites or services. |
| Website | Link the button to a website. |
| Website URL | Specify the URL of the website. |
| Border type | Choose the border style for the widget: solid, dashed, or dotted. |
| Fallback width | Set the fallback width of the widget. |
| Fallback font size | Specify the fallback font size for the text. |
- Save the template to apply your configurations.
- Navigate to the Journey creation canvas.
- Enable the Product Collection toggle during journey setup.
- Add the desired nodes for email triggers and actions.
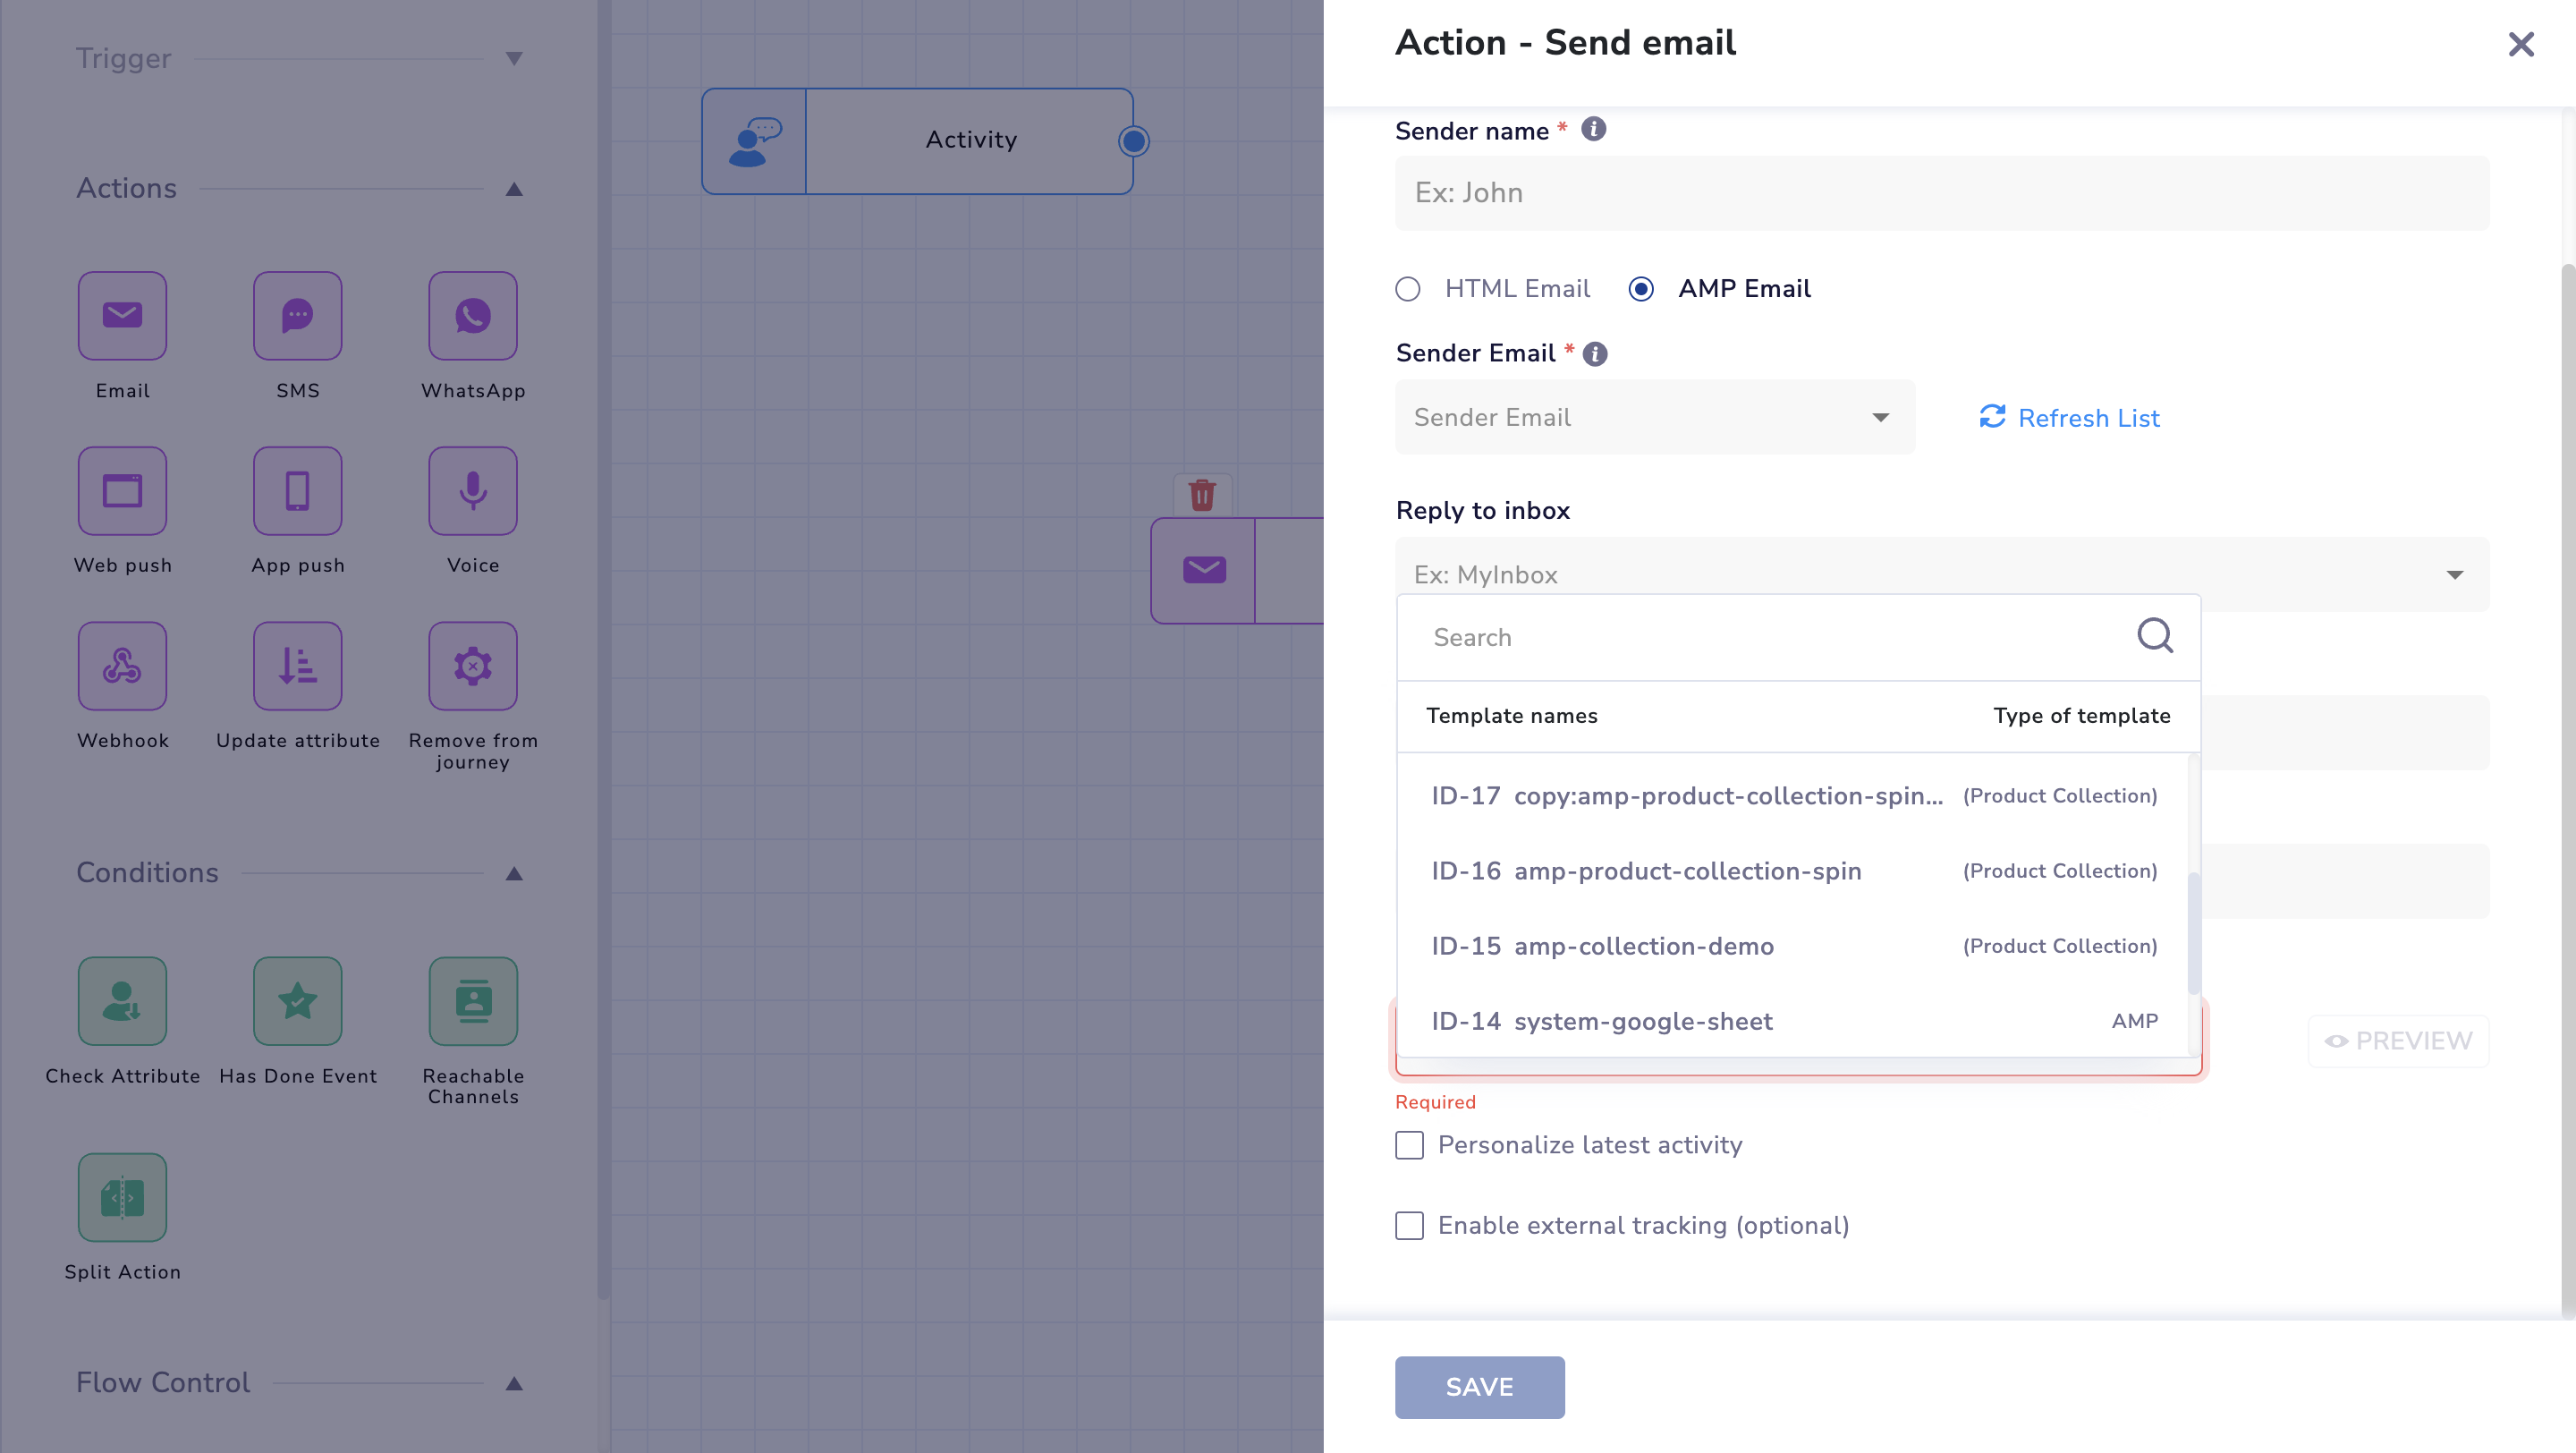
- Select the created AMP template (categorized as Product Collection) from the dropdown.
- Activate the Journey to start engaging customers with interactive AMP emails.
Create a Journey
- Navigate to the Journey creation.
- Enable the Product Collection toggle during journey setup.
Enable Product Collection in Journeys
Design & Activate Your Journey
- Add desired Journey nodes for email triggers and actions.
- Select the created AMP template (categorized as Product Collection) from the dropdown.
- Activate the Journey to start engaging customers with interactive AMP emails.
Note
- This feature is currently available only for Shopify customers. To enable it, contact [email protected]..
- When creating a journey, ensure the AMP email trigger activity is set for the intended Shopify website. Add the activity and specify the URL Contains parameter with the Shopify site address.
- Jackpot
Jackpot
The Jackpot widget adds an element of gamification to your emails, making them more engaging and fun for your audience. This widget can create interactive games, or prize draws for your emails. This widget increases user interaction and engagement. It also encourages recipients to spend more time with your content and take desired actions, such as participating in a contest or redeeming a special offer.
Add Jackpot Widget in AMP email
The Jackpot widget customization comprises three sections: Start page, Play animation, and Reward page.
Refer to the table below to learn about available functionalities available
| Section | Functionality | Description |
|---|---|---|
| Start page | Block color | Choose the background color for the jackpot block. |
| Button fill color | Select the fill color for the start button. | |
| Add a 'start' button | Add a button to start the jackpot. If disabled, clicking on the image will initiate the spin. | |
| Image size | Adjust the image size using a scroll bar. | |
| Add image | Upload a new image from your device, add an image URL, or choose an image from your My Uploads. | |
| Play animation | Play animation | Enable or disable the play animation for the jackpot. 📘 The other functionalities available on this page are the same as the Start page. |
| Reward page | Content | Add setup choices and result allocation for your widget. |
| Jackpot setup choices | Provide a win message and a button URL for each reward. This guides the users on the next steps and directs them to the appropriate page. You can add up to 8 rewards. | |
| Reward name | Enter the name of each reward. | |
| Button click leads to (URL) | Specify the URL users will be directed to when clicking the button. | |
| Add a 'play again' button | Allow users to try their luck once more with an additional play button. | |
| Allocation | Result allocation | Allocate a win ratio percentage to each reward to determine its probability of being shown. |
Win RatioDefine how often users will see a particular reward compared to others. If set to zero, the reward won't show. If set to one, the reward will be displayed based on allocated probability.
Use Cases
- Contests and Giveaways: Host interactive games or lotteries to reward customers.
- Special Promotions: Drive interest and excitement for limited-time offers.
- Customer Retention: Use fun games to re-engage inactive subscribers.
Updated 29 days ago