Attributes
Overview
Attributes are characteristics of your contacts. For example, email address, name, age, gender, salary, location.
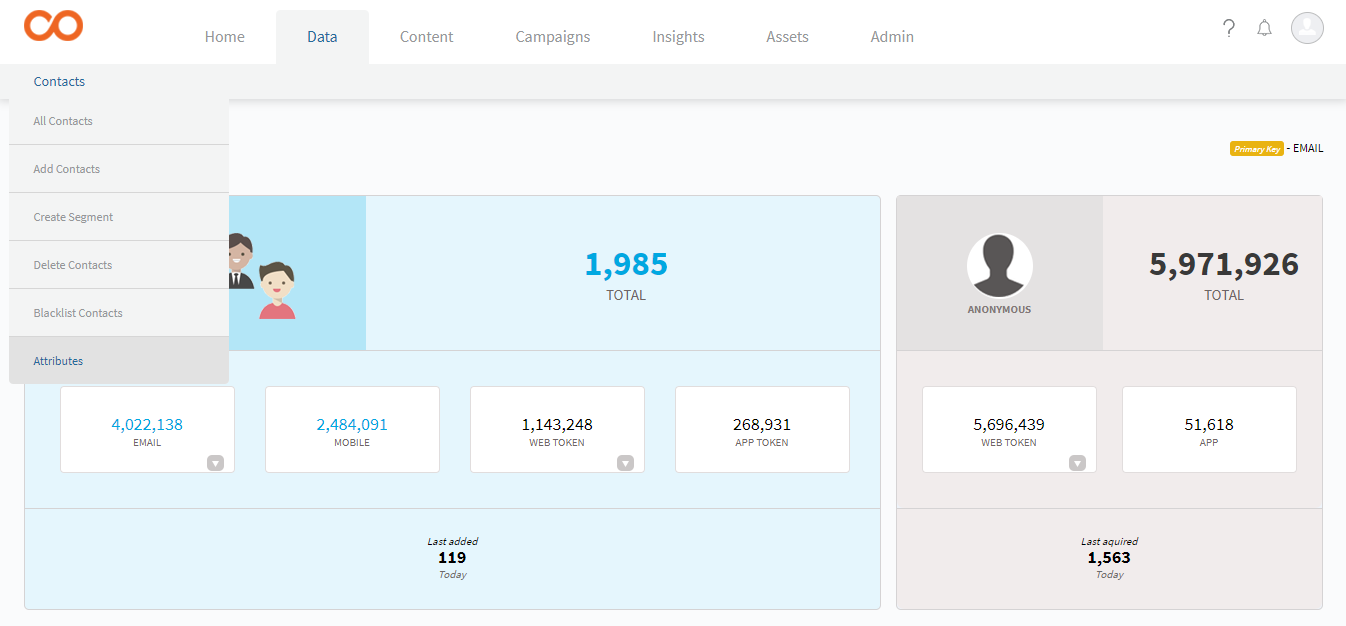
Based on the type of data, attributes are of four types:
| Type | Applicable | Format | Example |
|---|---|---|---|
| Textline | Email address Name Address Location * Gender and so on. | Combination of: Alphabets Special characters * Numbers | [email protected] |
| Date | Date of birth Date of purchase * Date of return and so on. | DD-MM-YYYY YYYY-MM-DD | Valid: 23-01-2013, 2012-01-23 Invalid: 23rd Jan 2013, 23/01/2013 |
| Decimal | Salary Rate of interest Price of products and so on. | Numbers separated by decimal points | Valid: 3.2, 8.25, 299.99 Invalid: 3.2 lakhs, 8.25 percent, INR 299.99 |
| Integer | Phone number Age Pin code and so on. | Only integers | Valid: 23, 9843213478 Invalid: 32years, 3 months |
| Longtext | |||
| URL |
Custom Attribute & System Attribute
System Attributes are CEE-defined attributes. The commonly used attributes like first name, last name, gender, country, etc. have been defined as System Attributes. Custom Attributes are the ones that you can define. You can map the attributes in your list to system attributes.
Creating a new attribute
To create a new attribute:
- Go to Data > Manage > Contact > Attributes Create New Attribute.
- In the Create New Attribute dialog box, enter the details in the respective fields.
- Click Save.
The attribute gets created and appears in the Attributes grid-view.
Attribute Mapping
You can create segments based on the attributes of the Contacts. Also, you can update the attribute values of a contact through automation. However, out of all the attributes that you define in CEE, to ensure efficiency, you need to select up to a maximum of 15 attributes for segmentation and automation. You can select attributes in Attribute Settings. These selected attributes are called Indexed attributes. Only the Indexed attributes are made available for selection in segmentation and automation.
To index the attributes,
- Go to Data > Manage > Contact > Attributes > Attribute Settings.
- In the Attribute Settings dialog box, move the attribute that you wish to index from the list of attributes in the right side to that in the left side.
- Click Save Changes.
How to personalise Attribute/activity data in Email / BPN / APN / Web message?
| Channel | Atttribute | Activity |
|---|---|---|
| [ATTRIBUTE_NAME] | [PAYLOAD_PARAMETER_NAME] | |
| BPN | [ATTRIBUTE_NAME] | {{COLLECTIONS.first.<payload_name> }} //first refers to the latest value of the payload parameter {{COLLECTIONS.last.<payload_name>}} //last refers to the first logged value of the payload parameter |
| APN | [ATTRIBUTE_NAME] | Not Available |
| Web Message | Not Available | Not Available |
Note
- Payload Personalization is not possible in the Subject line of the Email.
- Personalization for BPN can be done on all the sections like image, text and CTA of the BPN.
Video
You can also create a new attribute while uploading a list via CSV or API
To create a new attribute while uploading list using a CSV file follow the below steps:
- Create a CSV file with the new attribute you wish to add to the new or existing file.
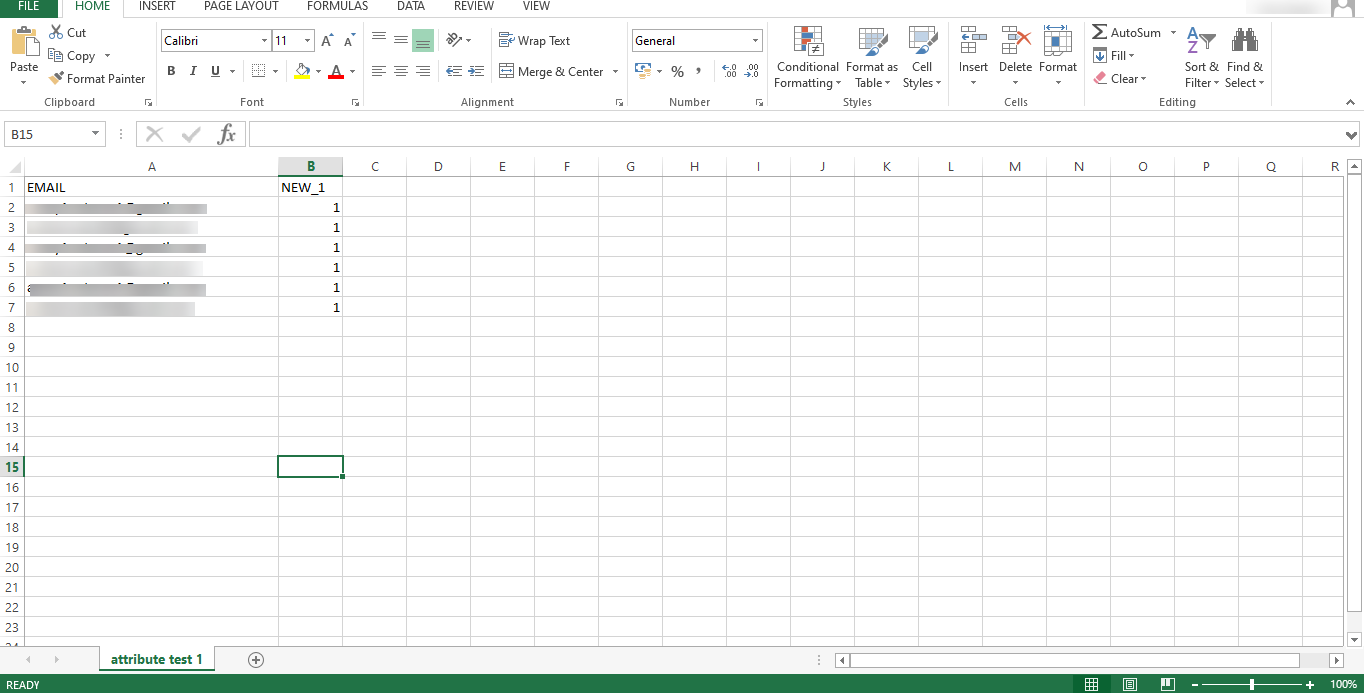
- Go to data > contacts > all contacts > list
- Click on create normal/ suppression list. In the pop up fill in the details such as type of list, list name and description
- Then, click on create list
- On the list listing page you will find the new list created, hover on that and click on add and select via file upload
- Upload the file and click on proceed to attribute mapping and agree to the terms and conditions
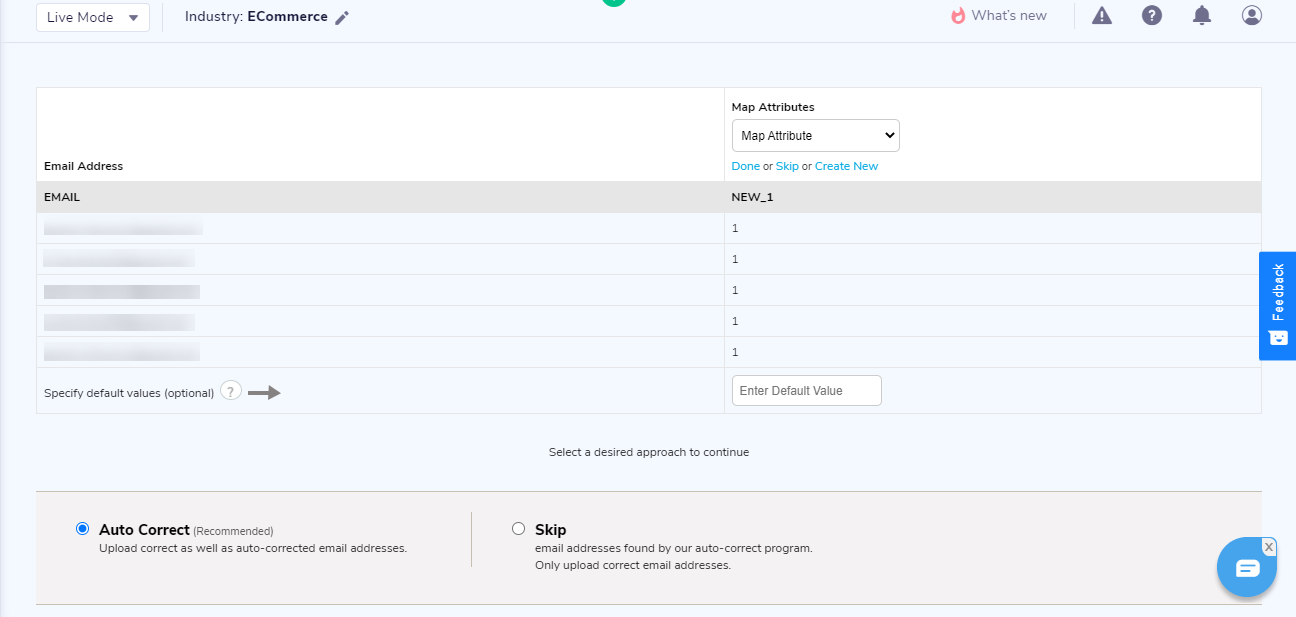
- On the attribute mapping page, under map attributes you will find done, skip and create new option
Done- When you have made any spelling errors in the existing attribute name and want to select it from the dropdown with the proper spelling and continue with the attribute mapping procedure, you can utilize the Done option.
Skip- You can utilize the skip option if you created an incorrect attribute and want to change it completely.
Create new- If you wish to create a completely new attribute, use the create new option from available under map attributes.
- Select the data type and click on done
- Click on save and add contacts
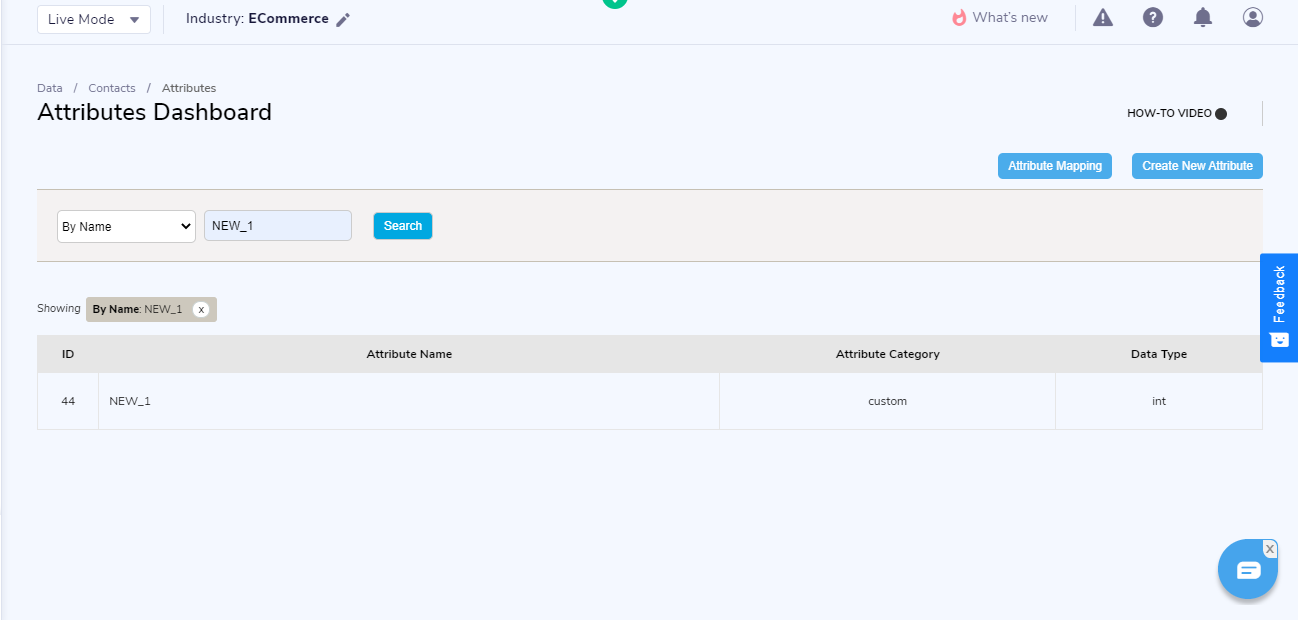
- Your new attribute is mapped in the panel, you can go to the attribute section and search for the attribute by name
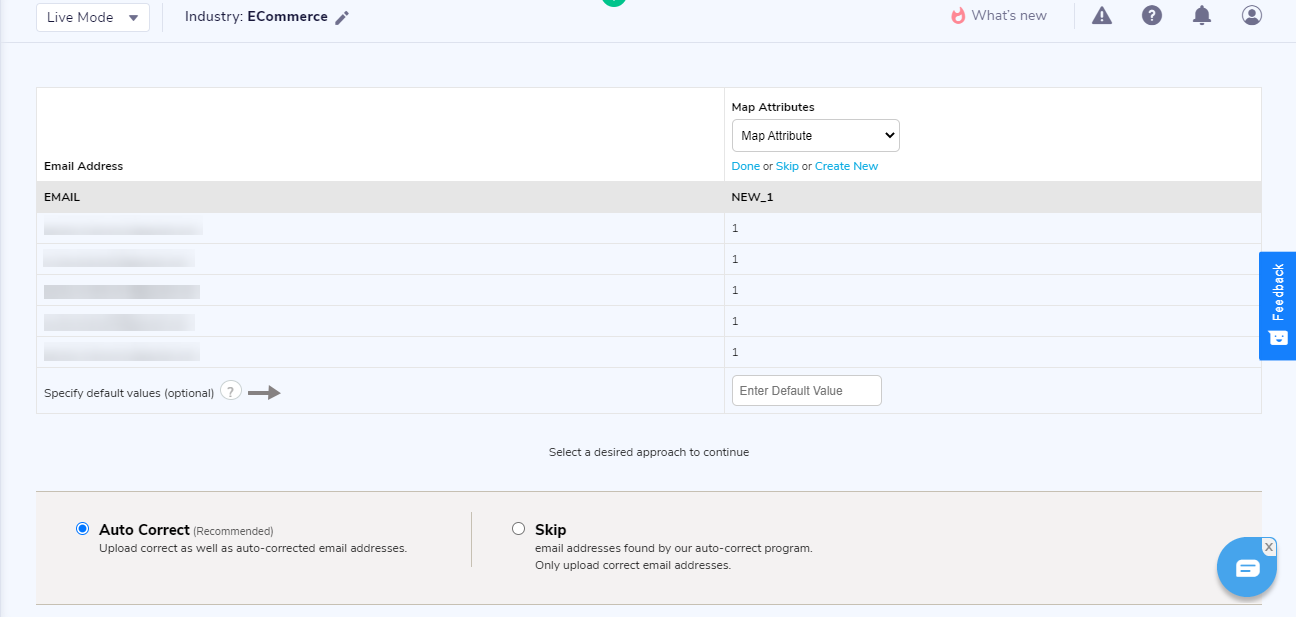
To create a new attribute while uploading list via bulk upload, you can create new attribute on the fly.
Updated about 2 years ago
