
Configure Content Fetch
Set up Content Fetch in Netcore CE: define your API, declare parameters, test the connection, map responses to labels, and activate for use in journeys.
Configuration is a one-time, governed activity. The flow has four steps, and a connection cannot go live until it passes a real test:
Open the Content Fetch catalog
Content Fetch is the first card in the Integrations catalog. Follow the steps below to configure Content Fetch in your CE panel.
- Log in to the Netcore CE panel and navigate to Settings > Integration.
- On the Content Fetch card, and click Configure.
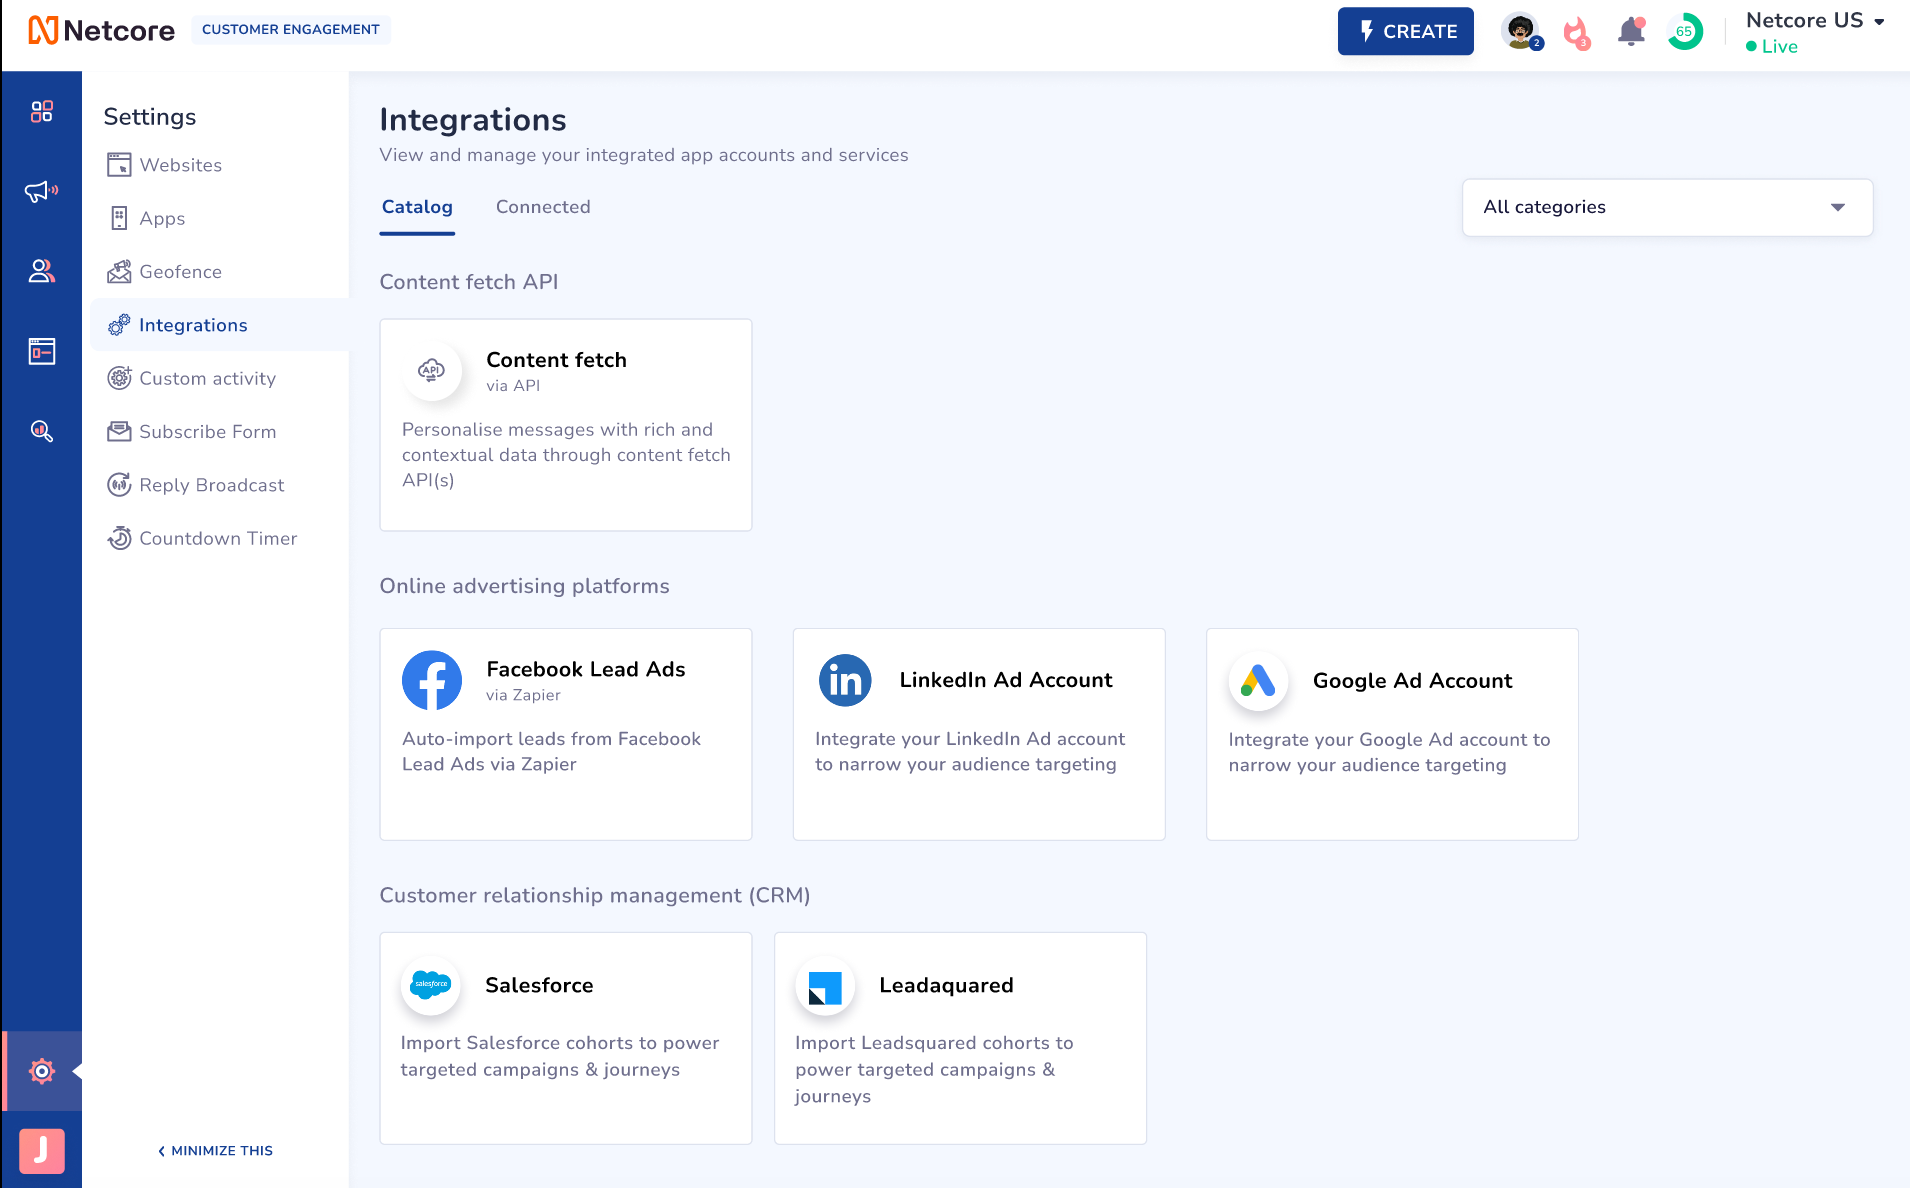
Integrate Content Fetch via API
Define API
Configure the API endpoint, method, authentication, and request details.
Refer to the below table to understand details to be filled.
| Field | What to enter |
|---|---|
| Connection name | A unique, descriptive name, e.g. weather based data. |
| Method | GET or POST. |
| Endpoint URL | The full URL of your API. You can also paste a cURL command here and Netcore parses it into method, URL, headers, and parameters for you. |
| Enable caching | Optional. Turn on if the response is non-personalised per user. |
| Alert email | Required. One or more addresses that get alerted when this connection's API calls start failing. |
Below the endpoint, API request configuration has three tabs:
| Tab | What it configures |
|---|---|
| Parameters | Key-value pairs appended to the URL as query parameters. |
| Authorization | How Netcore authenticates to your API: No Auth, Basic Auth (username + password), or API key. Credentials are stored securely and never shown back in the UI. |
| Headers | Header keys with static or dynamic (Liquid) values. |
Configure Request Body
For the POST method, you also have to configure a request body.
Personalise the request per user
Anywhere a value should differ per user like a customer ID in the URL or a SKU in the query string or a token in a header, write a Liquid placeholder like below:
https://api.brand.com/v1/products/{{ sku }}A Parameters tab for a weather lookup might look like this:
| Key | Value |
|---|---|
user_id | {{ user_id }} |
city | {{ city }} |
A Headers tab can mix static and dynamic values:
| Key | Value |
|---|---|
User-Id | {{ user.id }} |
User-Email | {{ user.email }} |
Source | crm-platform |
Authorization is stored securely at the connection level, not on user profiles. Credentials never render in the UI, never appear in previews, and never show up in logs.
Declare Parameters
Define the path, query, header, or body parameters required for the API.
Every placeholder used anywhere in the request like URL, headers, parameters, or body, must be declared before the connection can be saved. For each one, you have to tell Netcore where the value comes from. Refer to the table below for reference.
| Placeholder | Source |
|---|---|
sku | Event attribute: payload.sku |
customer_id | User attribute: customer_id |
region | Static value: "IN" |
Netcore refuses to save if any placeholder is used but not declared. This catches typos and prevents connections that would silently fail at send time.
Test Connection
Validate the API configuration and review the returned response.
The Test action is the gate between a draft and a usable connection. You cannot activate until the test succeeds.
-
Provide dummy values. Map each declared parameter to a static dummy value so the test is deterministic and doesn't depend on live user data:
sku → "SKU-1234" customer_id → "cust_98765" region → "IN" -
Run the test. Netcore executes the request with the dummy values and shows you exactly what was sent and returned:
- The final resolved URL (with dummy values substituted)
- Request headers and body
- Response status code
- Response body
- Round-trip latency
-
Fix and re-test if needed. On any failure (auth error, timeout, 4xx/5xx), correct the config and run again. You want a clean 2xx before moving on.
Map Response
Select response fields and expose them as variables for use later.
Once the test returns successfully, map the response fields into stable internal labels. Labels are what marketers see and use in the editor.
Why labels
The raw response is your engineering schema:
{
  "data": {
    "price": 4499,
    "inventory": 12,
    "tier": "premium"
  }
}
A marketer shouldn't need to know price lives at data.price — they should just write {{ product_price }}. The label is that translation.
Needs verificationClaim under review: "Netcore parses and flattens nested JSON so deep fields are selectable." Confirm this covers array paths like
recommendations[0].namefrom the original doc — if flattening doesn't support array indexing, the Recommendations use case above needs a caveat.
Add the mappings:
| Response path | Label |
|---|---|
data.price | product_price |
data.inventory | stock_status |
data.tier | product_tier |
Only mapped fields are usable. Anything you don't map is not accessible in campaigns.
Labels are immutable once usedOnce a campaign or journey uses a label, it cannot be renamed or repurposed — this protects live campaigns from silently breaking. To change the shape of the data, add a new label instead of editing an existing one.
Save and Activate
Save and activate the configuration to make it available in journeys.
A connection saves only when all of these hold:
- Every placeholder is declared.
- The test passed (or was explicitly overridden by an authorised user).
- Response mapping is complete.
- There's no schema ambiguity.
Test integrity: why Activate keeps switching off
Two rules guarantee that what goes live always matches what was last tested:
- Change the request, lose the response. Any edit to the method, URL, auth, headers, parameters, body, or declared parameters clears the fetched response and flags the mappings for re-validation.
- Activate re-arms only on a fresh test. Activate stays disabled until a successful test exists for the current request. Any later change disables it again until you re-test.
Note on credential rotationRotating a key or password counts as a request change — it triggers a re-test and re-activation. Plan for a quick re-test after rotating secrets.
Set Fallback
Each label carries a fallback value and a required/optional flag.
product_price  →  fallback: "check the site"  (optional)
stock_status   →  fallback: 0                 (optional)
product_tier → fallback: "standard" (optional)- Optional labels fail open: if the value is missing, the fallback renders and the message still sends.
- Required labels fail closed: if the value is missing, the message is skipped for that user rather than sent with a gap.
Fallbacks are non-negotiable. Without one, a degraded API becomes a degraded campaign.
Updated 1 day ago